
A freshly washed car looks great—but dirty wheels can keep it from looking finished. Brake dust, road grime, and buildup around the spokes can stand out even when the rest of the vehicle is spotless.
Why Wheel Cleaning Matters
Your wheels are among the hardest-working—and dirtiest—parts of your vehicle. They’re constantly exposed to brake dust, dirt, and road grime.
Brake dust can contain tiny metal particles, and buildup left on a wheel for too long can contribute to staining or damage to its finish. Regular cleaning helps remove that contamination while keeping your wheels looking their best.
What You’ll Need
Before you start, gather:
- A hose with a spray nozzle
- A wheel cleaner suitable for your wheel finish
- A dedicated bucket with car wash soap mixed according to its directions
- A wheel barrel brush
- A wheel face brush
- A lug nut brush
Keep your wheel-cleaning brushes and bucket separate from the tools you use on the body. You don’t want to carry gritty wheel residue onto your paint.
1. Know Your Wheel Finish
Before choosing a cleaner, find out what kind of wheels you have. Many are painted and clear-coated, while others have polished, chrome, matte, or other specialty finishes.
Choose a cleaner specifically labeled as suitable for your finish. A pH-balanced formula may be a good starting point, but always check its stated compatibility and directions. If you’re unsure about your finish, consult the wheel or vehicle manufacturer before you begin.
2. Start with Cool Wheels
Make sure your wheels are cool to the touch before applying cleaner. If you’ve just driven, allow enough time for them to cool.
Hot surfaces and direct sunlight can cause cleaners to dry too quickly, increasing the chance of spots or staining. Work in the shade whenever possible and never let wheel cleaner dry on the surface.
3. Clean the Wheels Before the Body
Start your wash with the wheels and tires. This helps prevent dirty water and wheel residue from splashing onto paint you’ve already cleaned.
Work on one wheel at a time so you can control the cleaner’s dwell time and rinse everything thoroughly before moving on.
4. Pre-Treat the Buildup
Before using your dedicated wheel brushes, remove as much brake dust and dirt as possible. Apply a wheel cleaner suitable for your wheel finish, allow it to dwell for the recommended time, then rinse thoroughly to wash away loosened contamination.
Next, reapply the cleaner and use your wheel brushes for mechanical cleaning. This two-step approach helps reduce the amount of abrasive dirt and brake dust present when brushing begins, while providing fresh cleaner for agitation.
Follow the label’s dilution, dwell-time, and safety guidance, and never let the cleaner dry on the wheel.
5. Clean the Barrel, Face, and Lug Nuts
Use your dedicated brushes to work through each area. Keep them wet with your wash solution and rinse them frequently to remove collected grit.
Start with the Inner Barrel
The barrel is the inside section of the wheel behind the spokes. It’s easy to overlook, but it collects plenty of brake dust and grime.
A long-reach brush, such as the V+ Wheel Barrel Brush, helps you clean deeper inside the wheel. Its unique bristles, fiber blend and generous cleaning surface make it easier to reach areas that are difficult to access by hand.
Guide the brush between the spokes and work around the barrel, rinsing it regularly as it collects dirt.
Move to the Wheel Face
Next, clean the visible face of the wheel, including the spokes and the spaces around them.
The VIKING Wheel Face Brush features soft, cosmetic-style bristles to help clean around spokes and tighter details. Take your time, using light pressure to work through the contours.
Finish Around the Lug Nuts
Lug nut recesses are small, but they can hold plenty of dirt and brake dust.
The VIKING Lug Nut Brush is designed to help reach these tight areas. Work carefully around each lug nut and rinse the brush as you go.
Pro tip: Let the cleaner and the right brush do the work. If grime remains, repeat the appropriate cleaning steps according to the cleaner’s directions instead of pressing harder.
6. Rinse Thoroughly and Repeat
Once you’ve cleaned every area, rinse the wheel thoroughly. Direct water behind the spokes, around the lug nuts, and into the barrel to flush away loosened grime, soap, and cleaner.
Check for missed spots, then move to the next wheel and repeat the process.
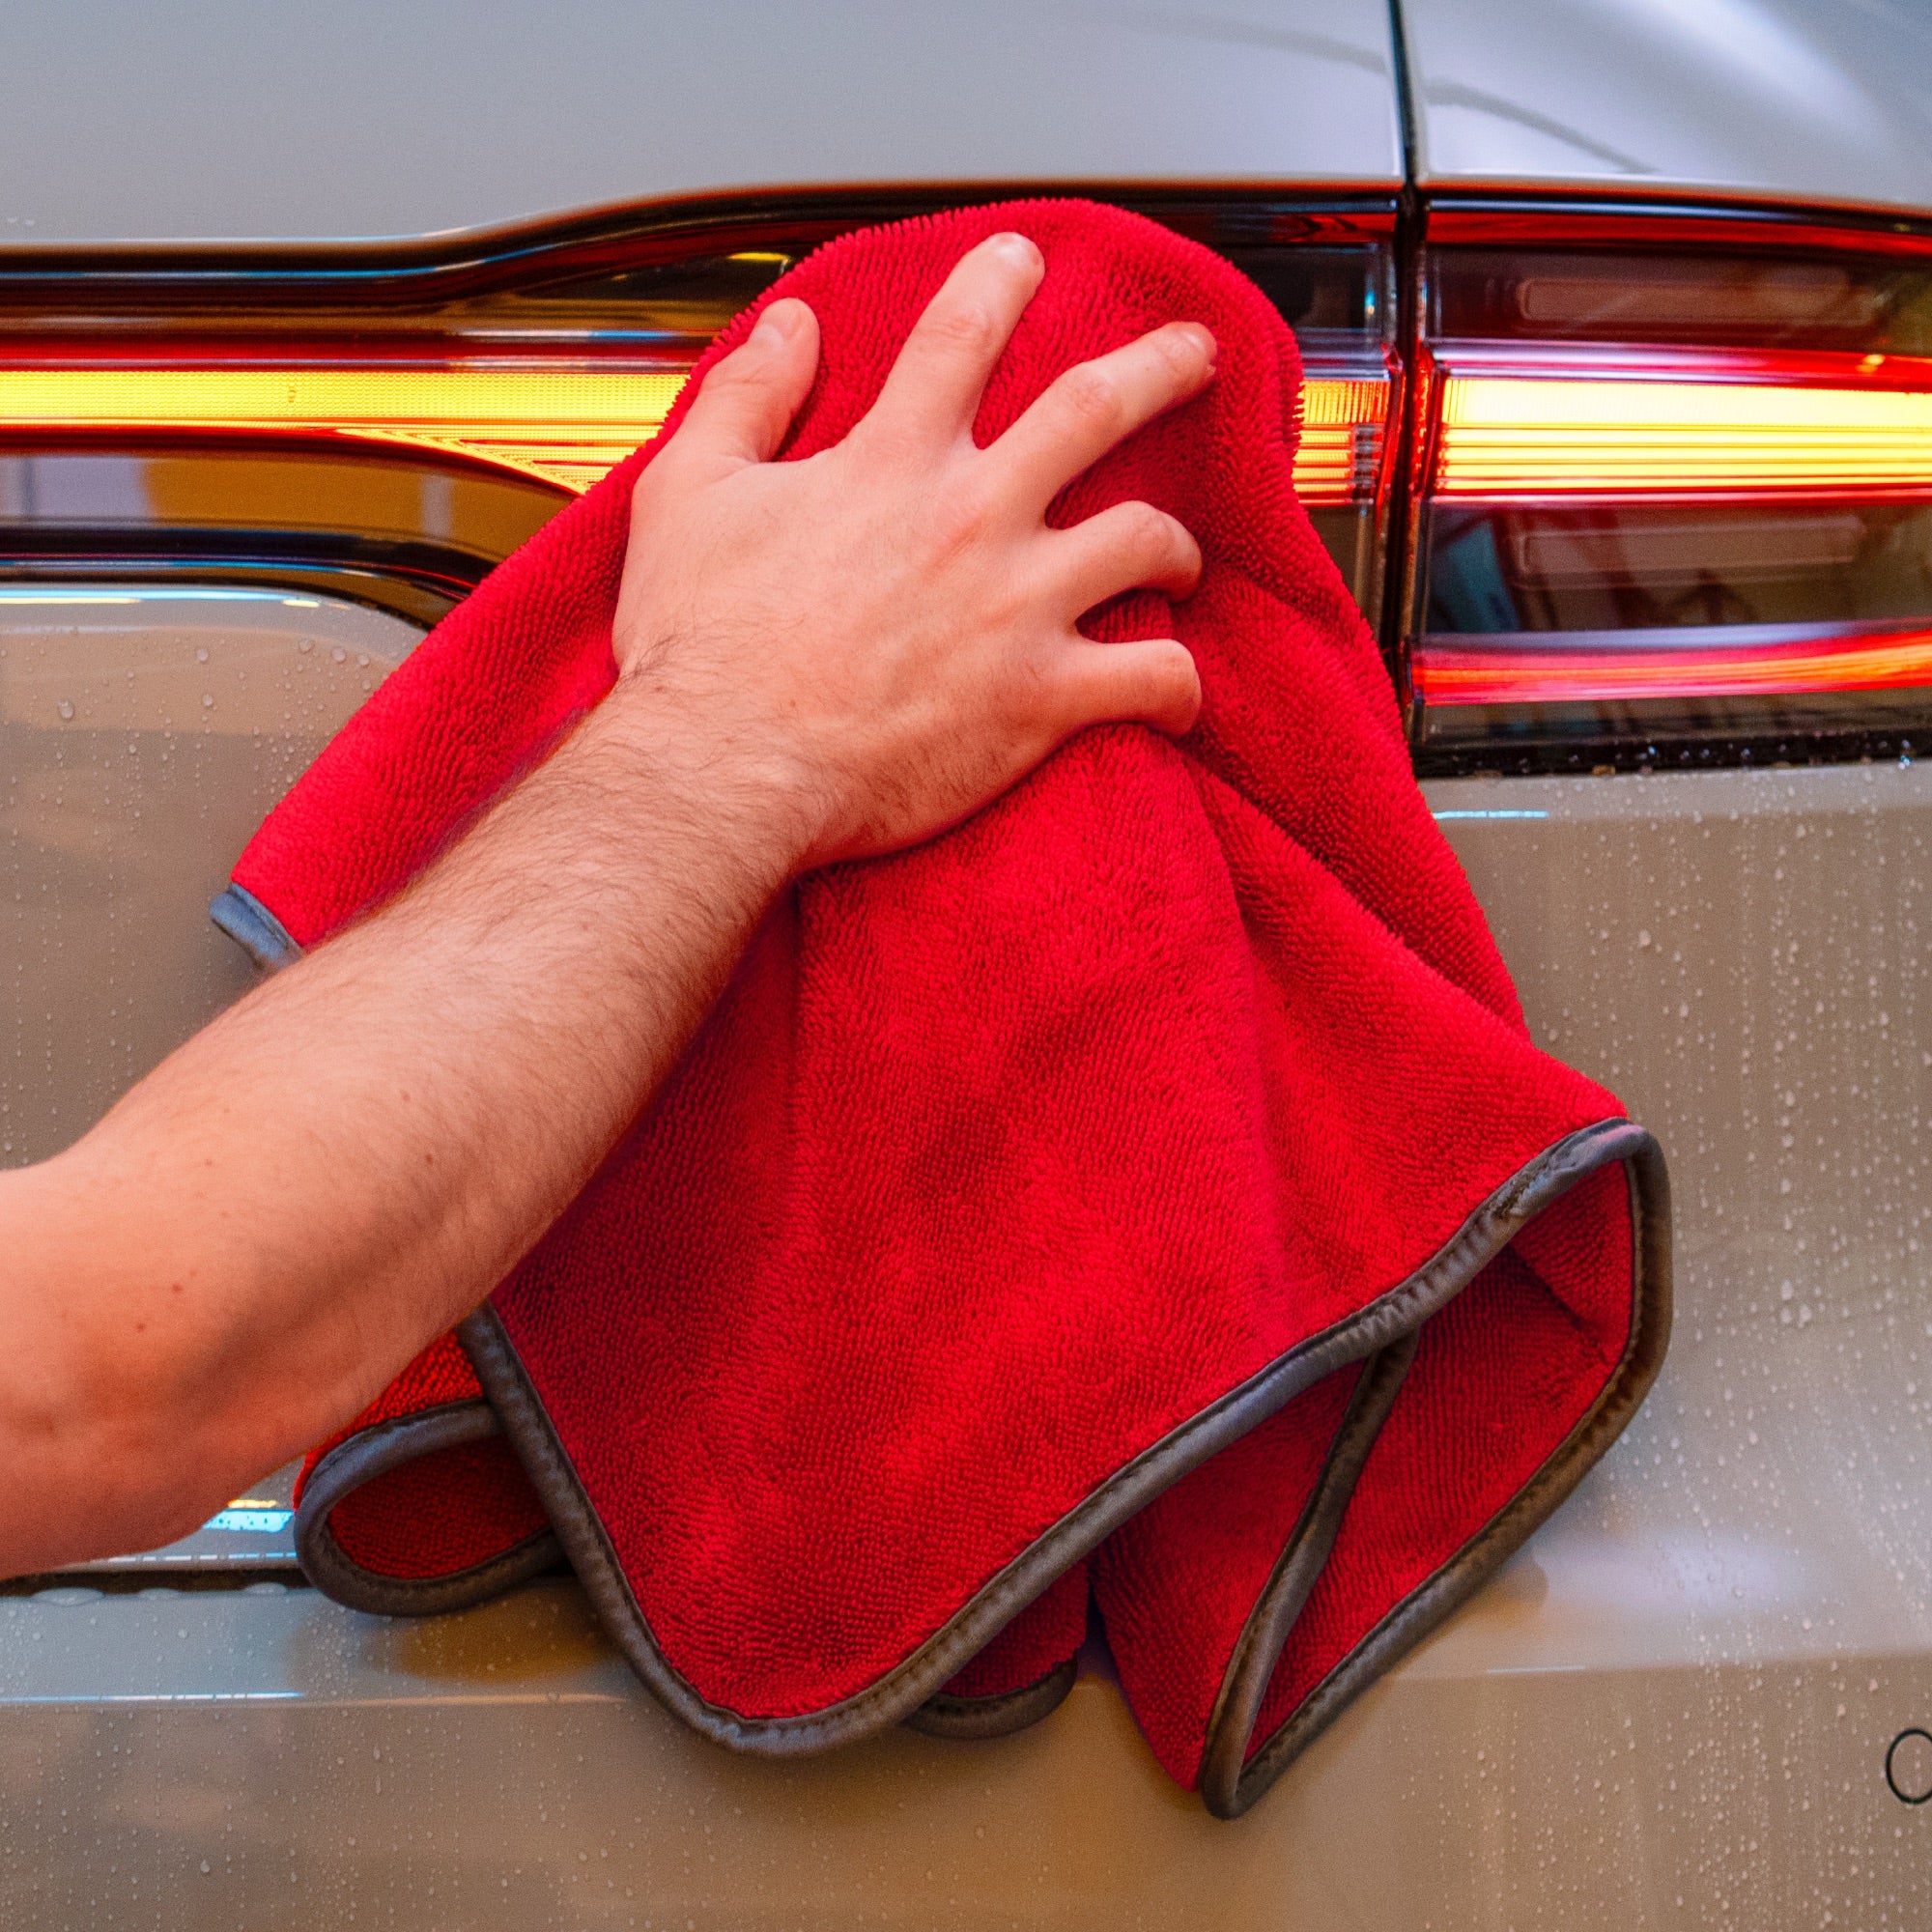
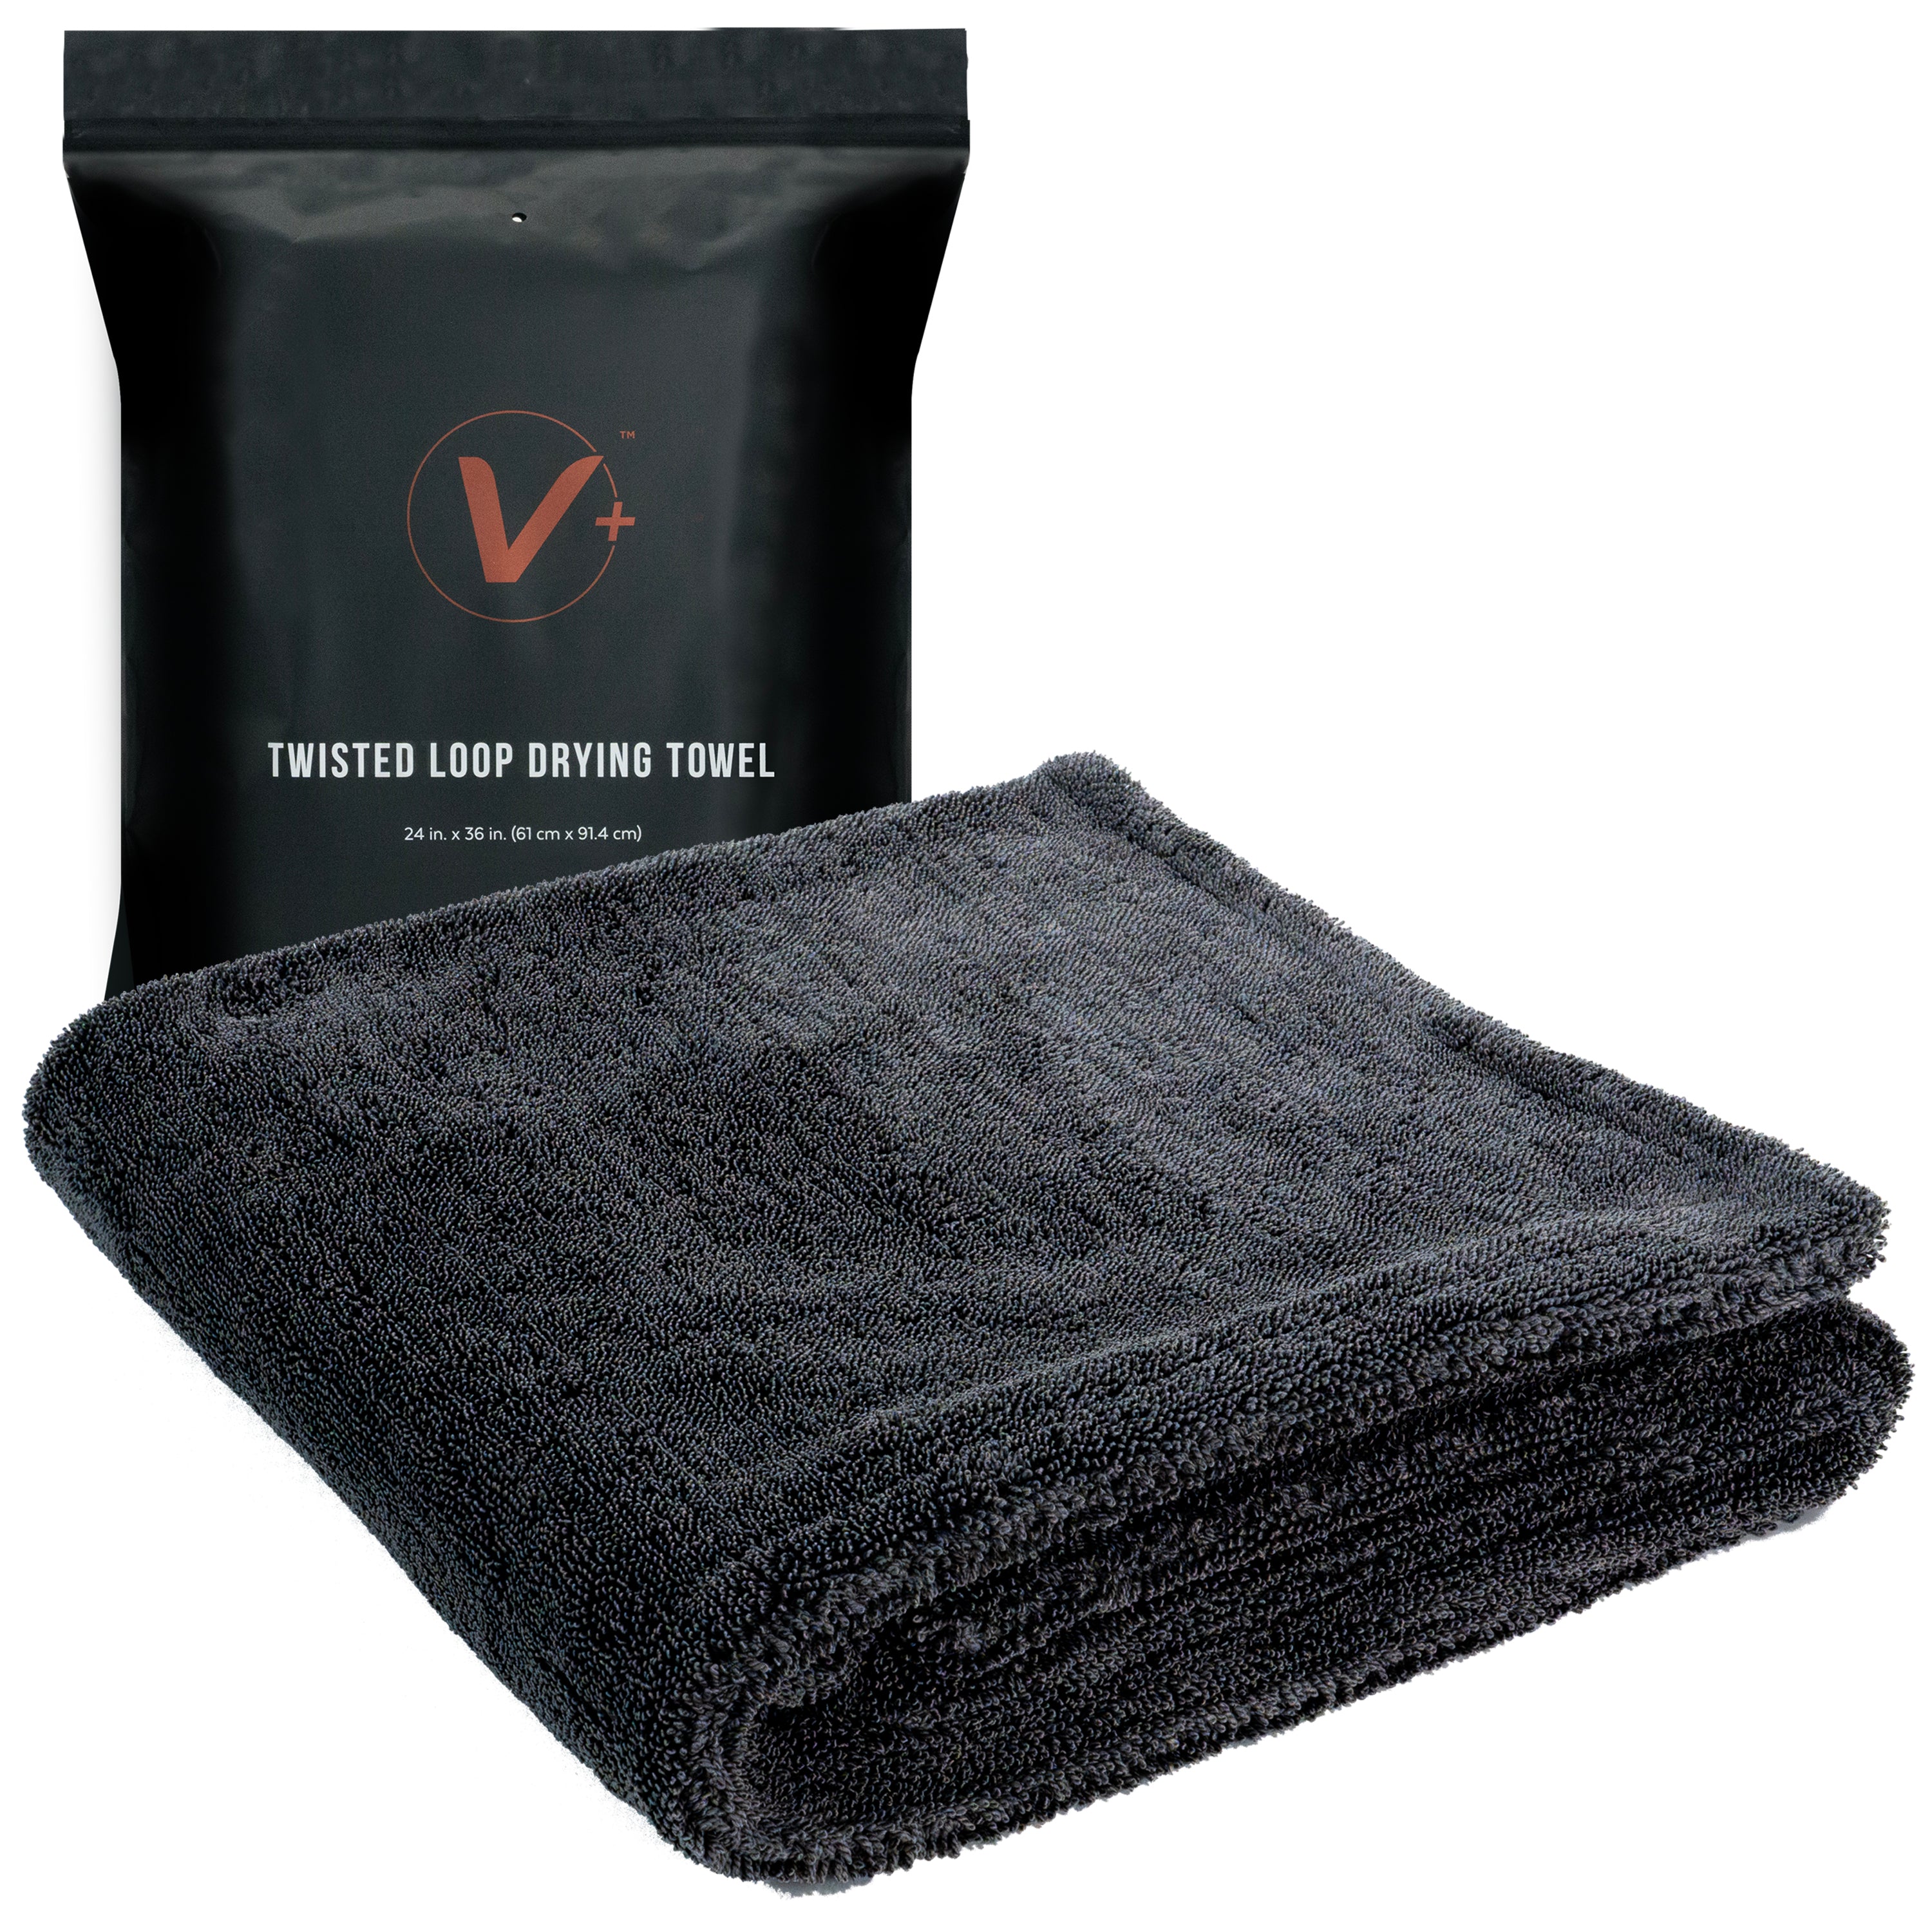
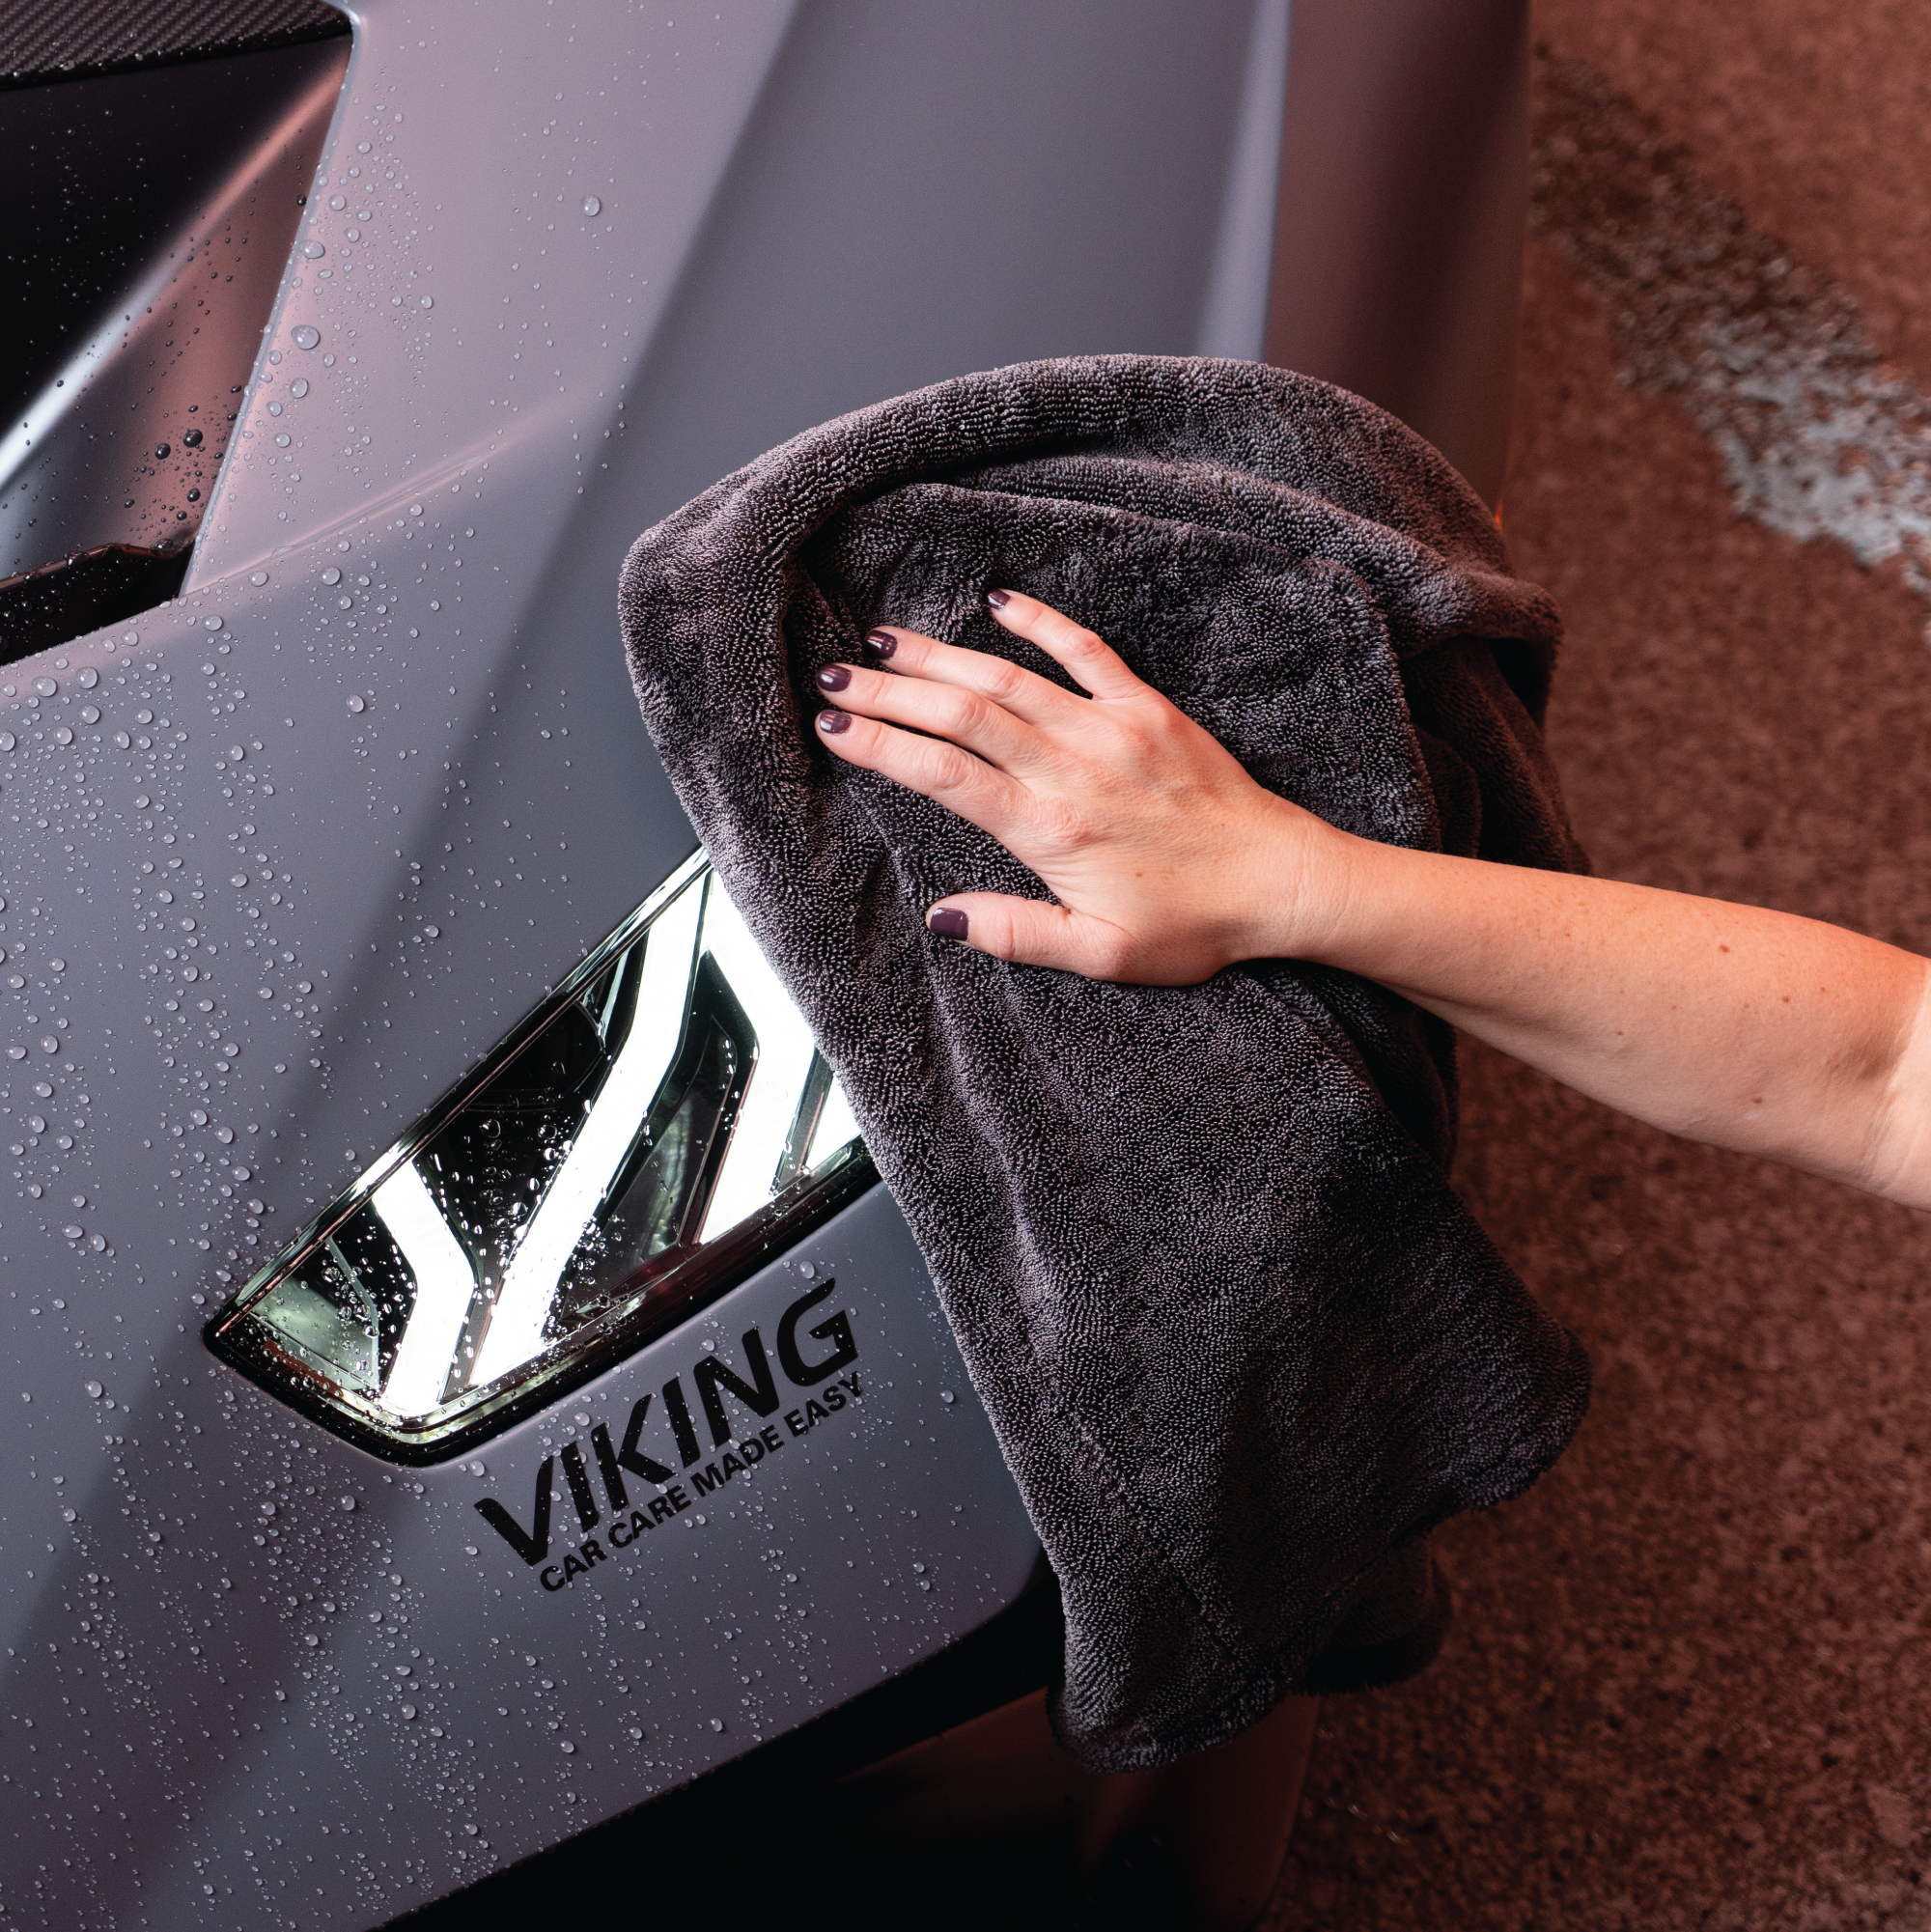
After washing the rest of your vehicle, dry the wheels with a dedicated towel suitable for the finish to help reduce water spots.
Give Your Wheels the Attention They Deserve
Clean wheels bring the whole wash together. With a cleaner suited to your finish, dedicated brushes, and a little attention to the areas behind the spokes, you can make wheel care a regular part of your driveway routine.