You can wash your car, clean the wheels, and get everything looking great — but if your tires still look dry and faded, the car just feels unfinished. Tire protection isn’t just about shine. When done correctly, it helps condition the rubber, protect against UV damage, and keep tires looking newer for longer. Here’s how tire protection actually works — and how to apply it the right way.
Why Tire Protection Matters
Your tires are constantly exposed to:
- Sun and UV rays
- Heat
- Road grime and chemicals
Over time, this dries out the rubber, causing tires to fade, crack, and lose their dark color. A quality tire protectant helps:
- Condition the rubber
- Protect against UV damage
- Slow down drying and fading
- Improve your car’s overall appearance
The shine is just a side effect — protection is the real benefit.
Tire Shine Finishes: Gloss vs. Satin
Before applying tire protection, decide what finish you prefer.
Gloss / Wet Look
- Dark, shiny appearance
- Popular for show cars and freshly detailed looks
Satin / Natural Look
- Clean, dark finish without high shine
- Ideal for daily drivers
Most tire protection products can be layered, so you can adjust the finish over time.

Types of Tire Protection Products
All tire shine products work — the difference is how they’re applied.
Tire Gels
- Thicker consistency
- More control during application
- Easy to build shine gradually
Tire Liquids
- Easy to spread
- Even, consistent finish
Tire Aerosols
- Quick and convenient
- Best used carefully to avoid overspray
The Most Common Tire Shine Mistake
The biggest mistake people make is applying too much product too quickly.
This often leads to:
- Uneven or blotchy shine
- Tire sling onto paint
- Shine that fades quickly
More product does not equal better results.
How to Apply Tire Protection the Right Way
Follow this simple method for tires that look good and last longer.

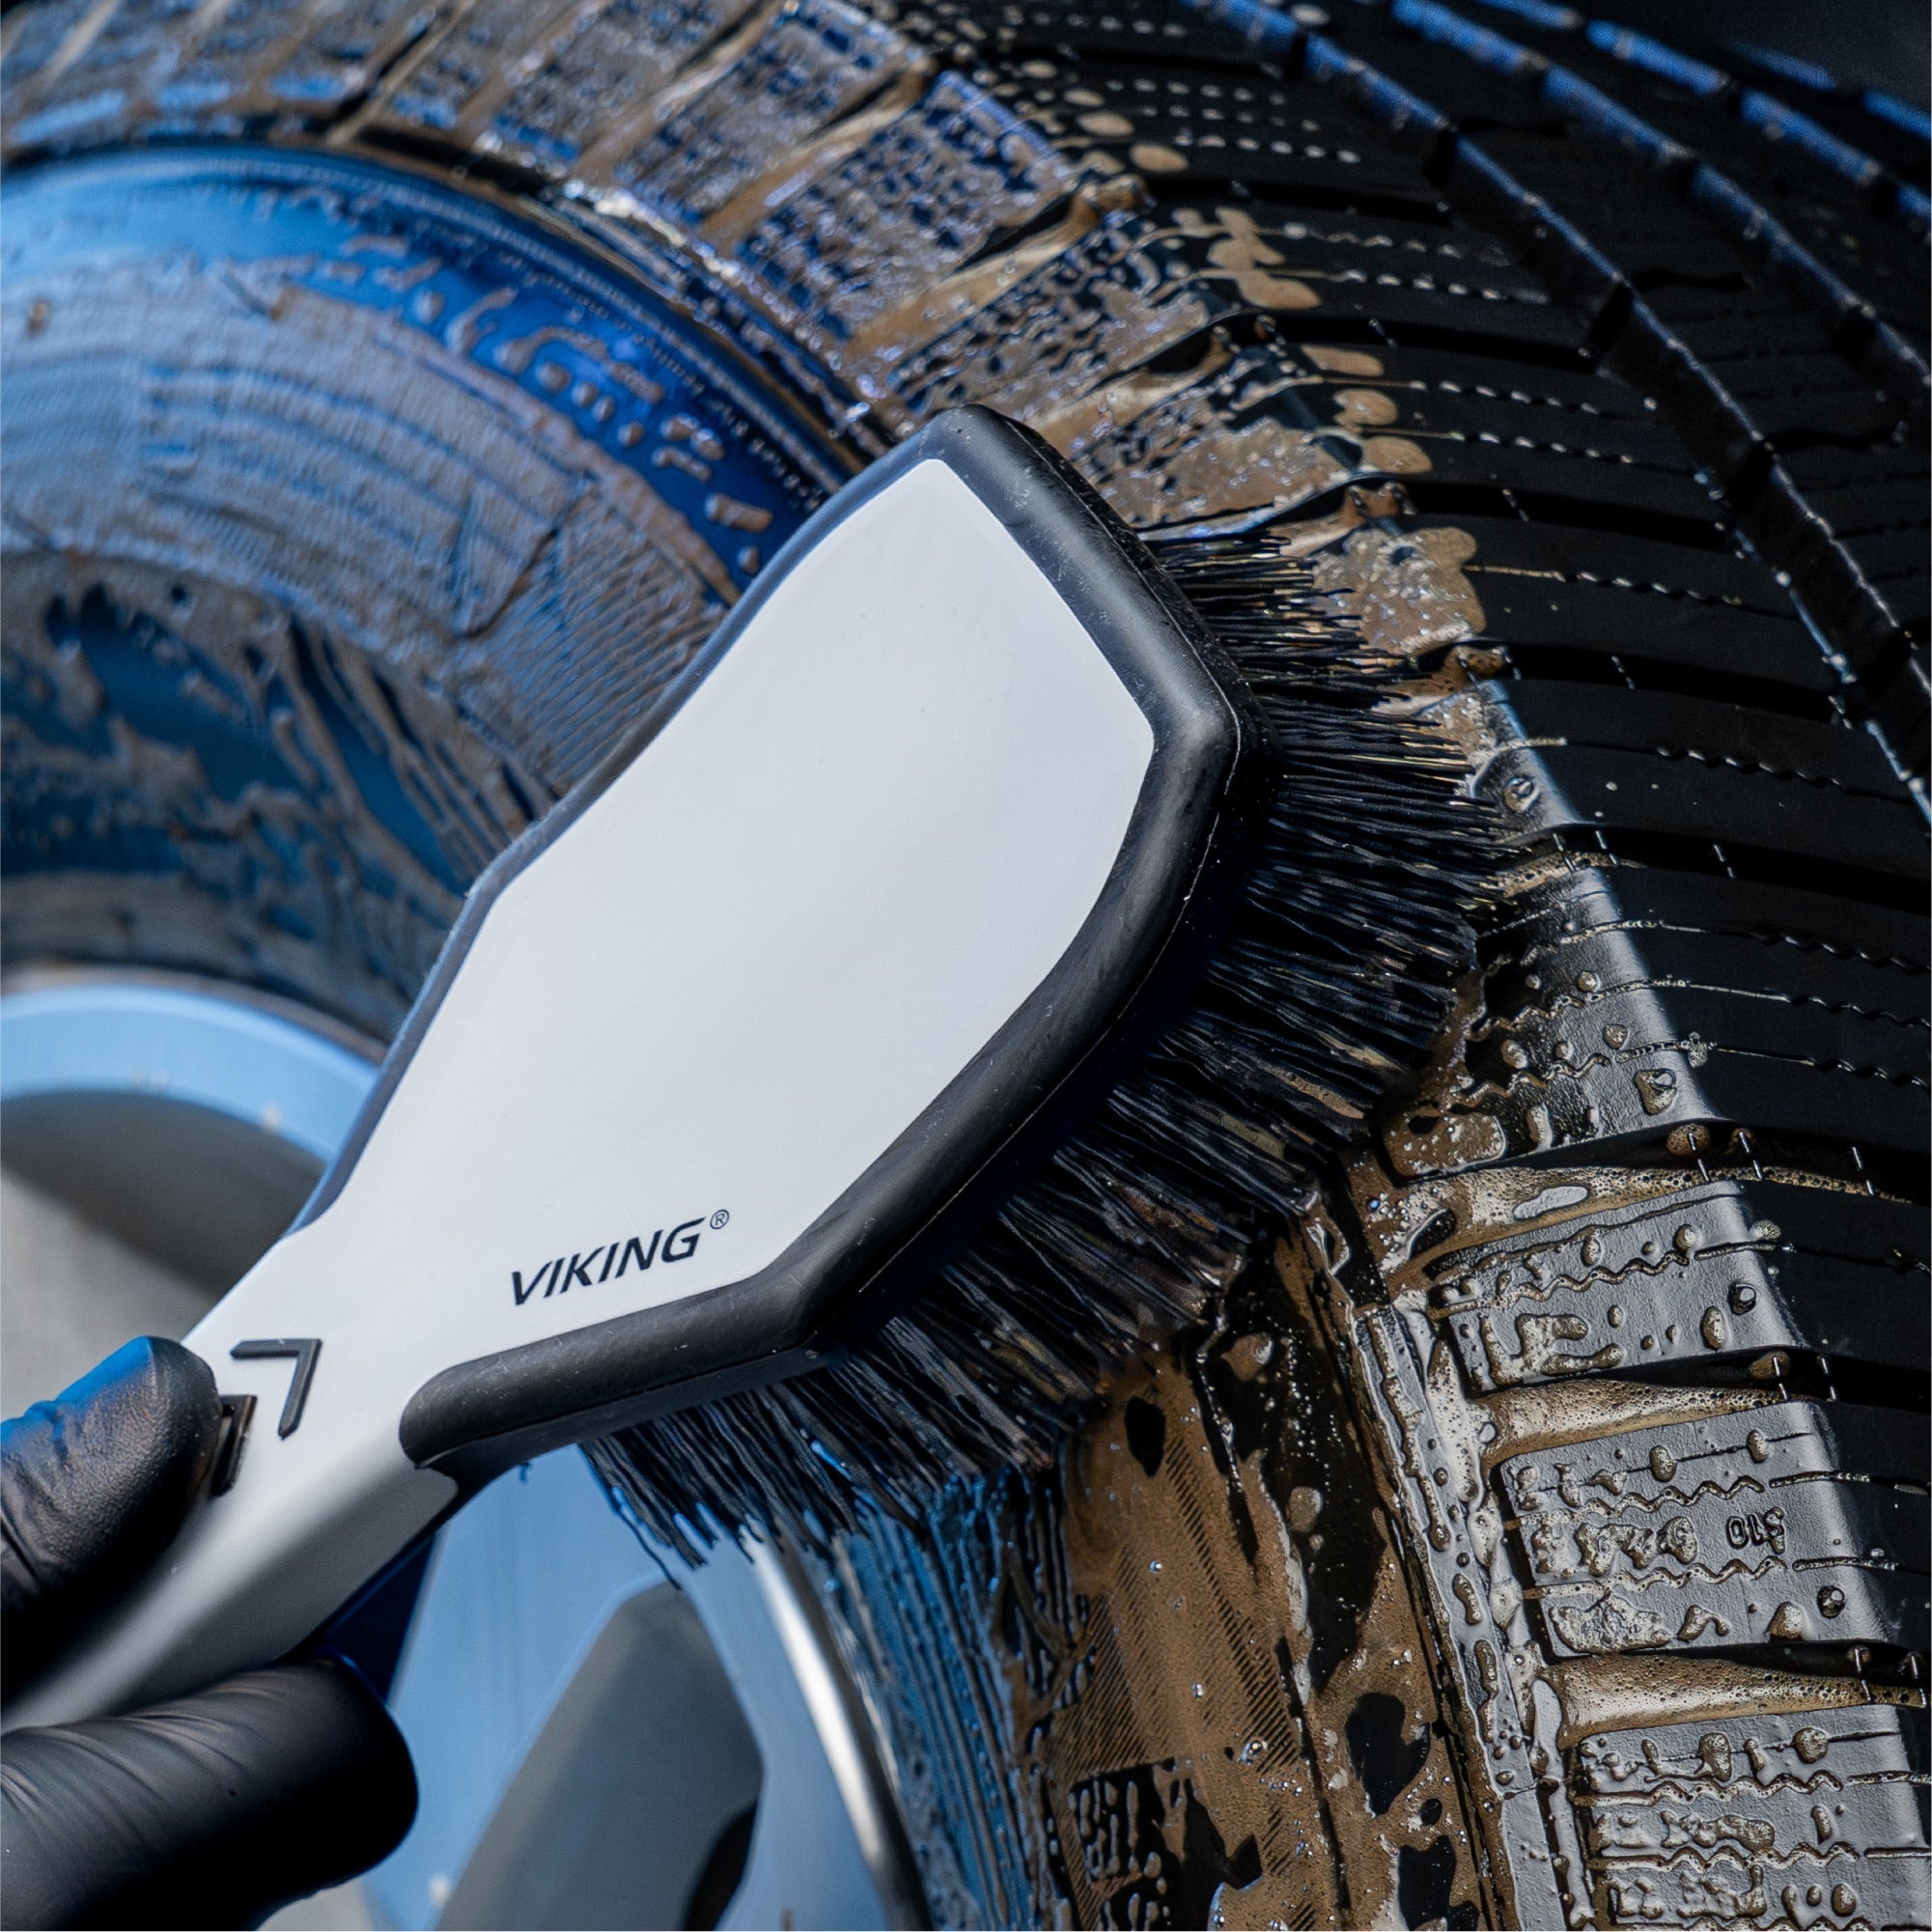
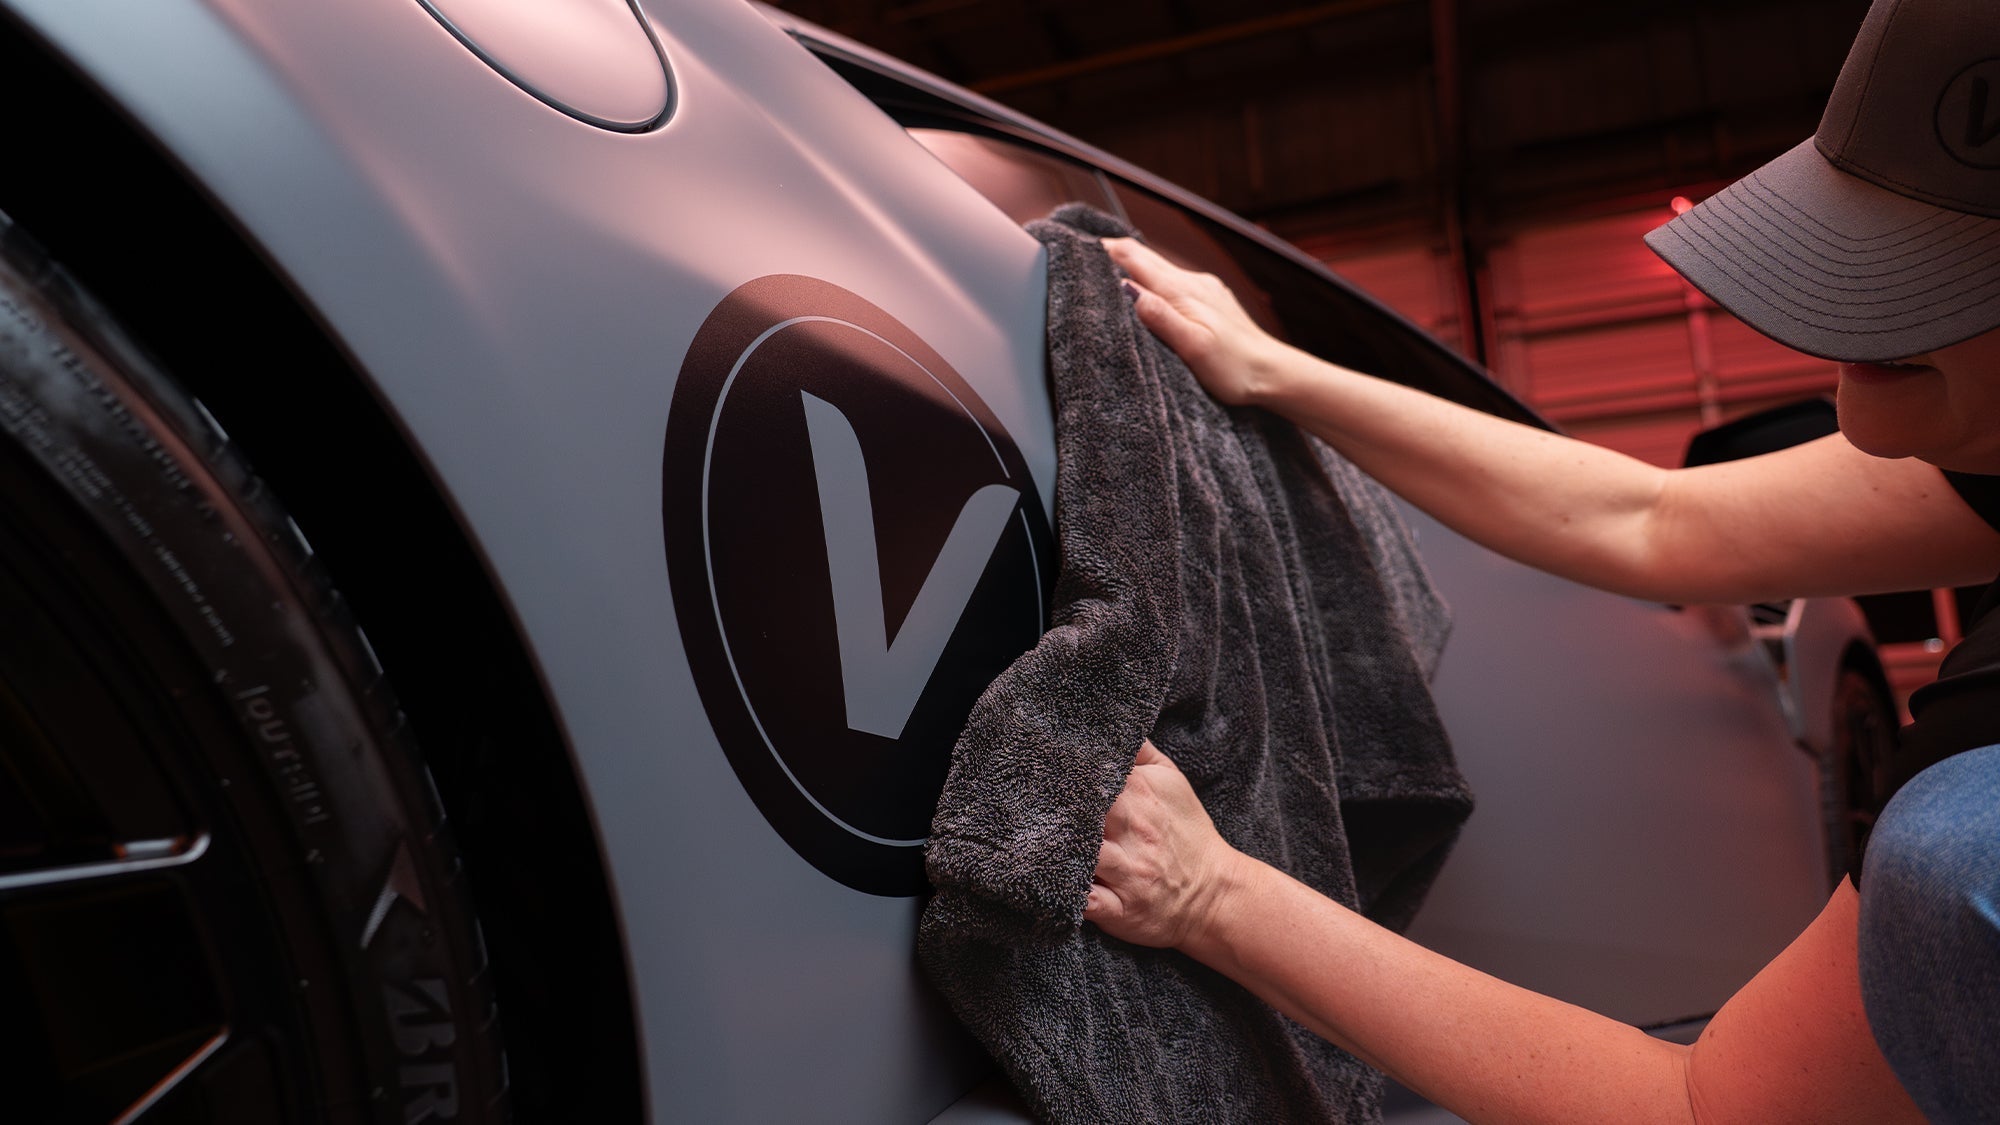
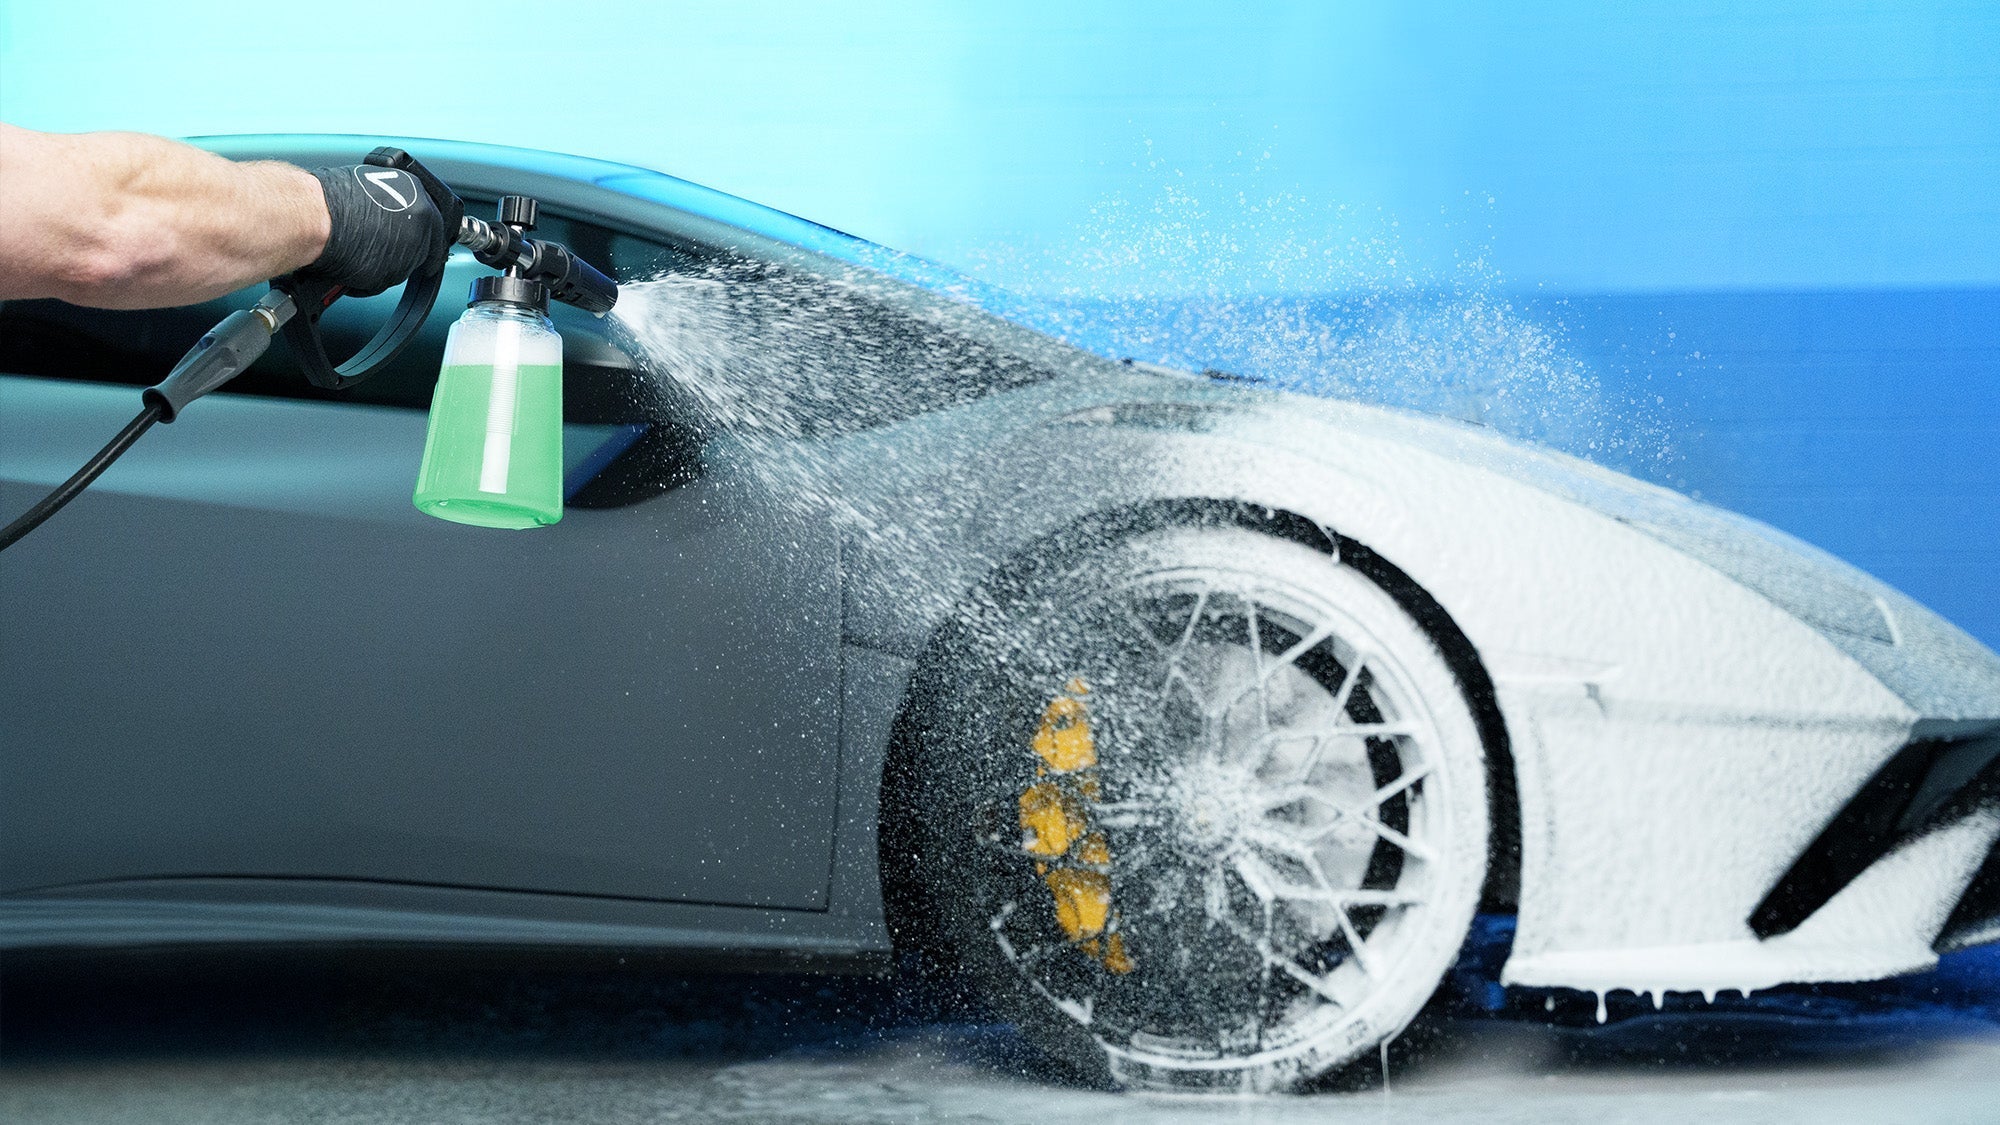
Step 1: Clean and Dry the Tire
Start with a clean, dry tire. Dirt or old product will prevent new tire shine from bonding properly.
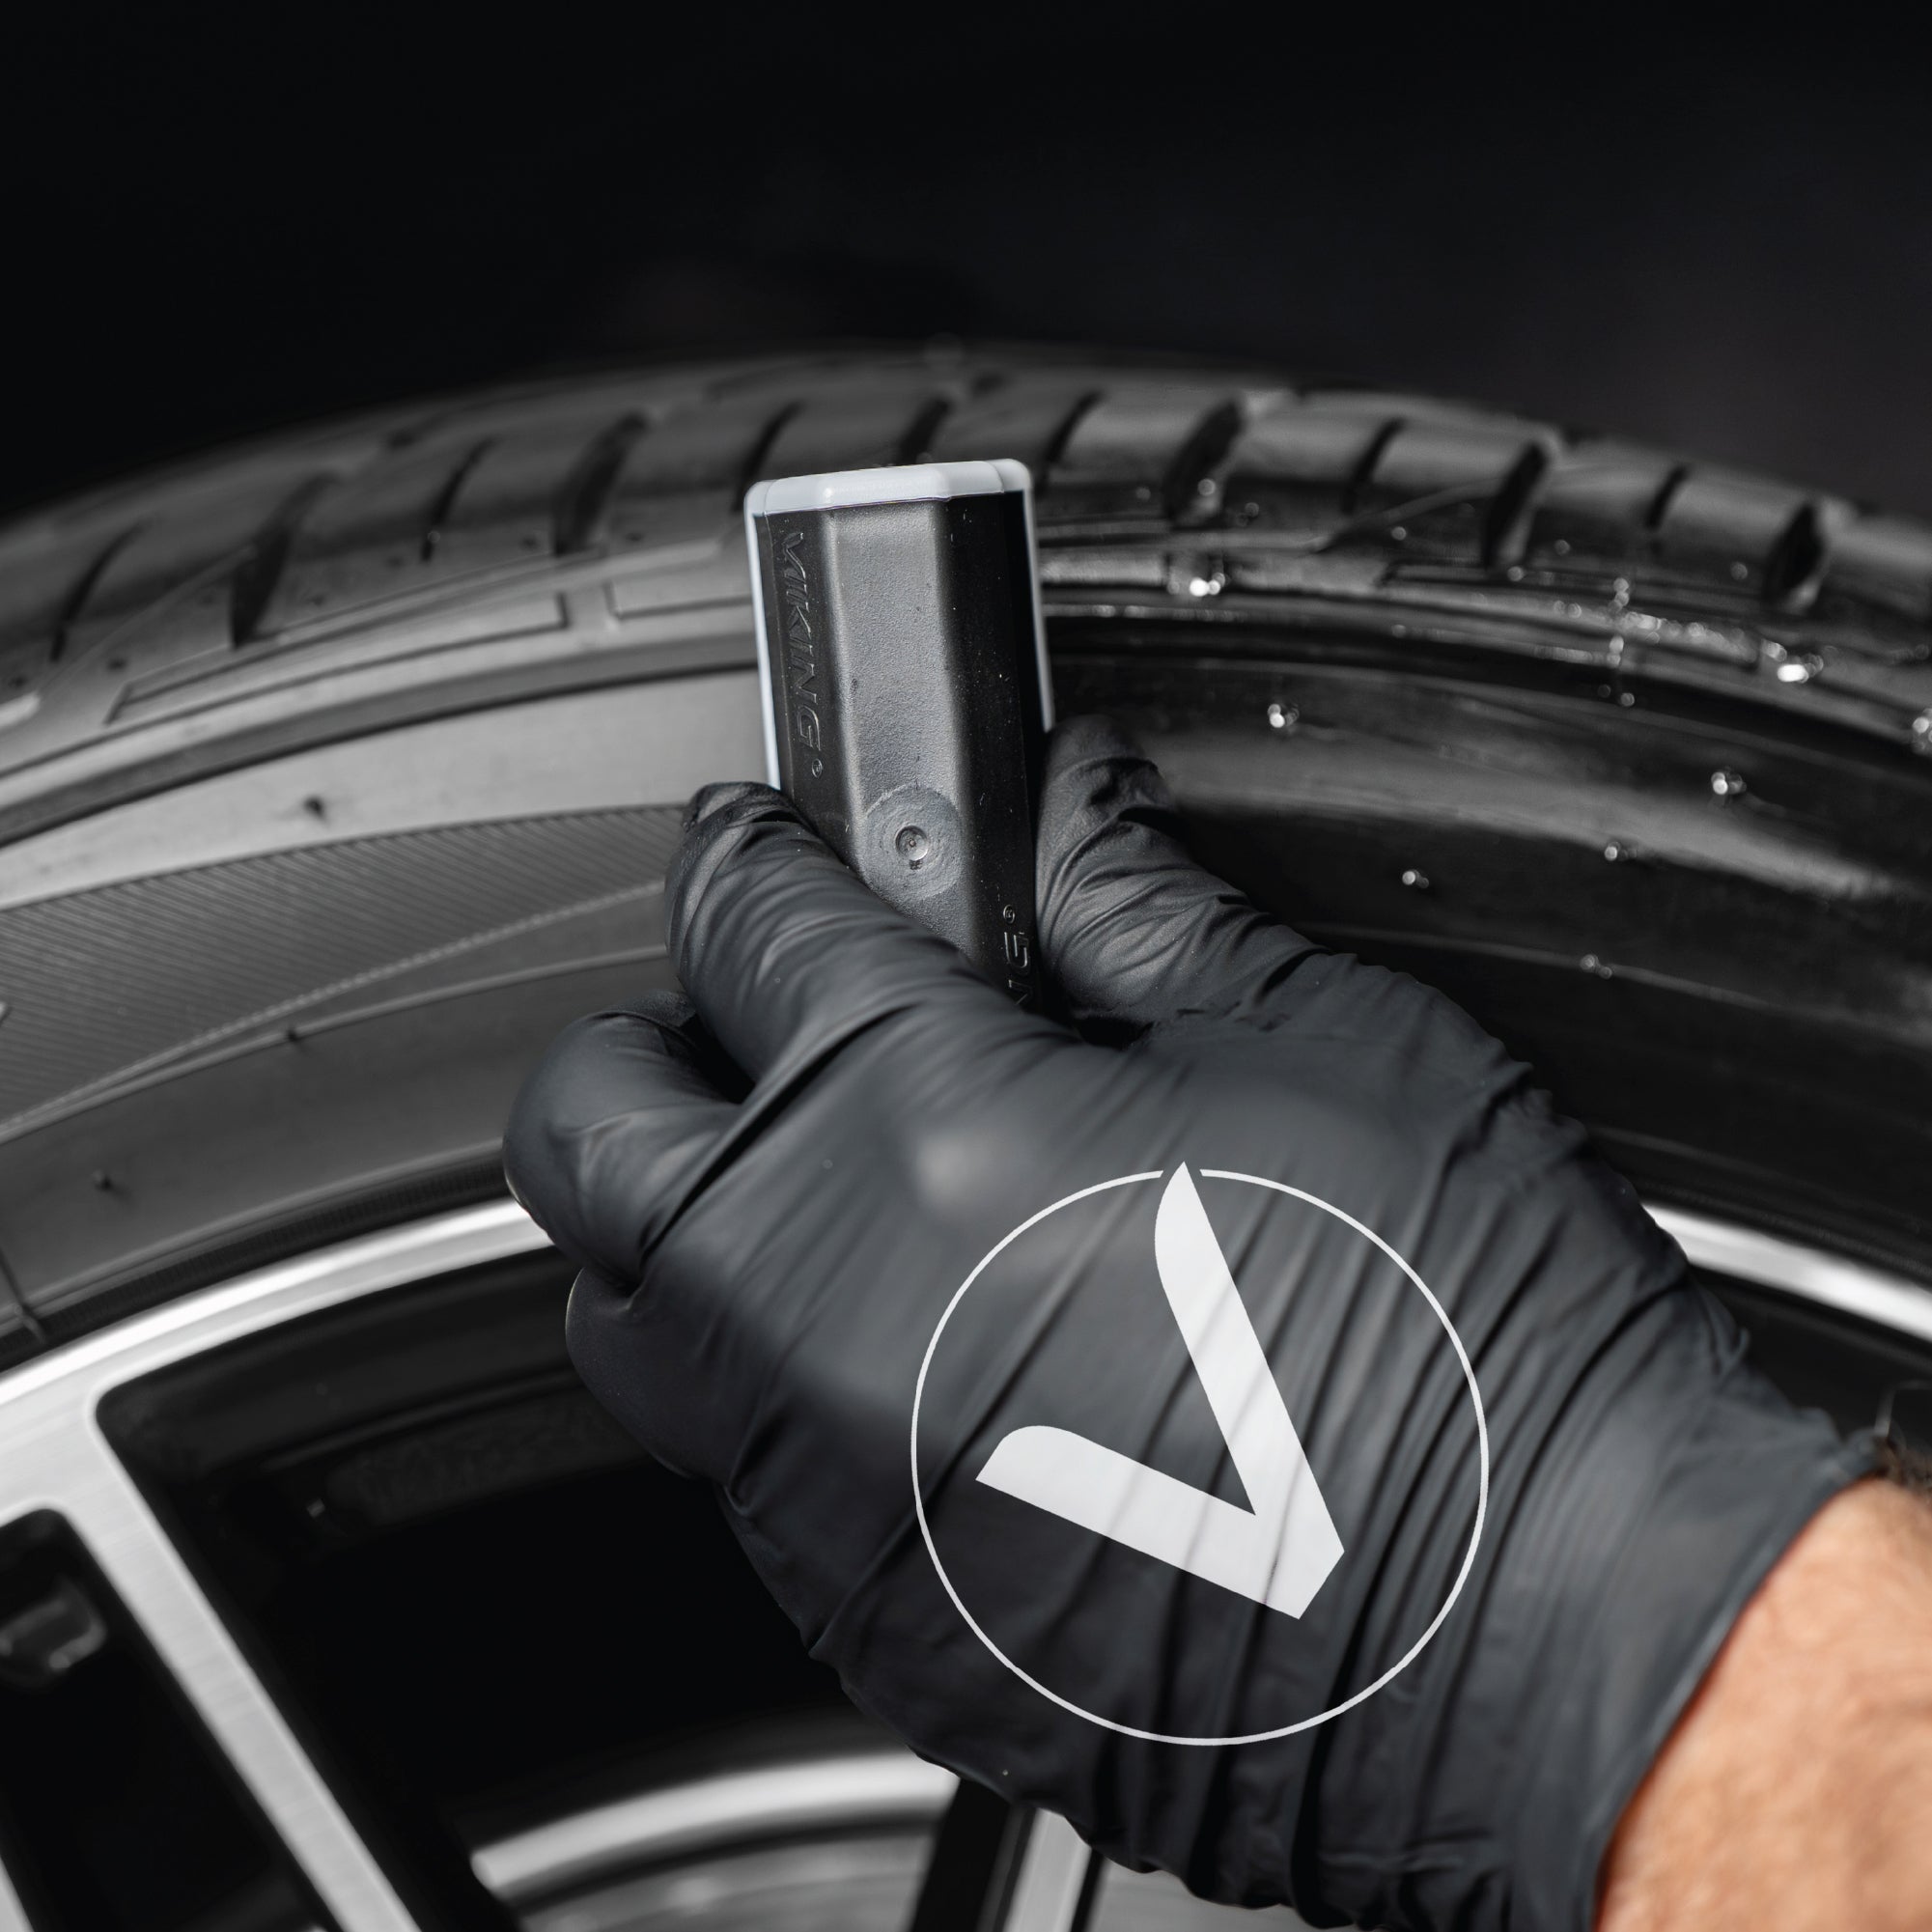
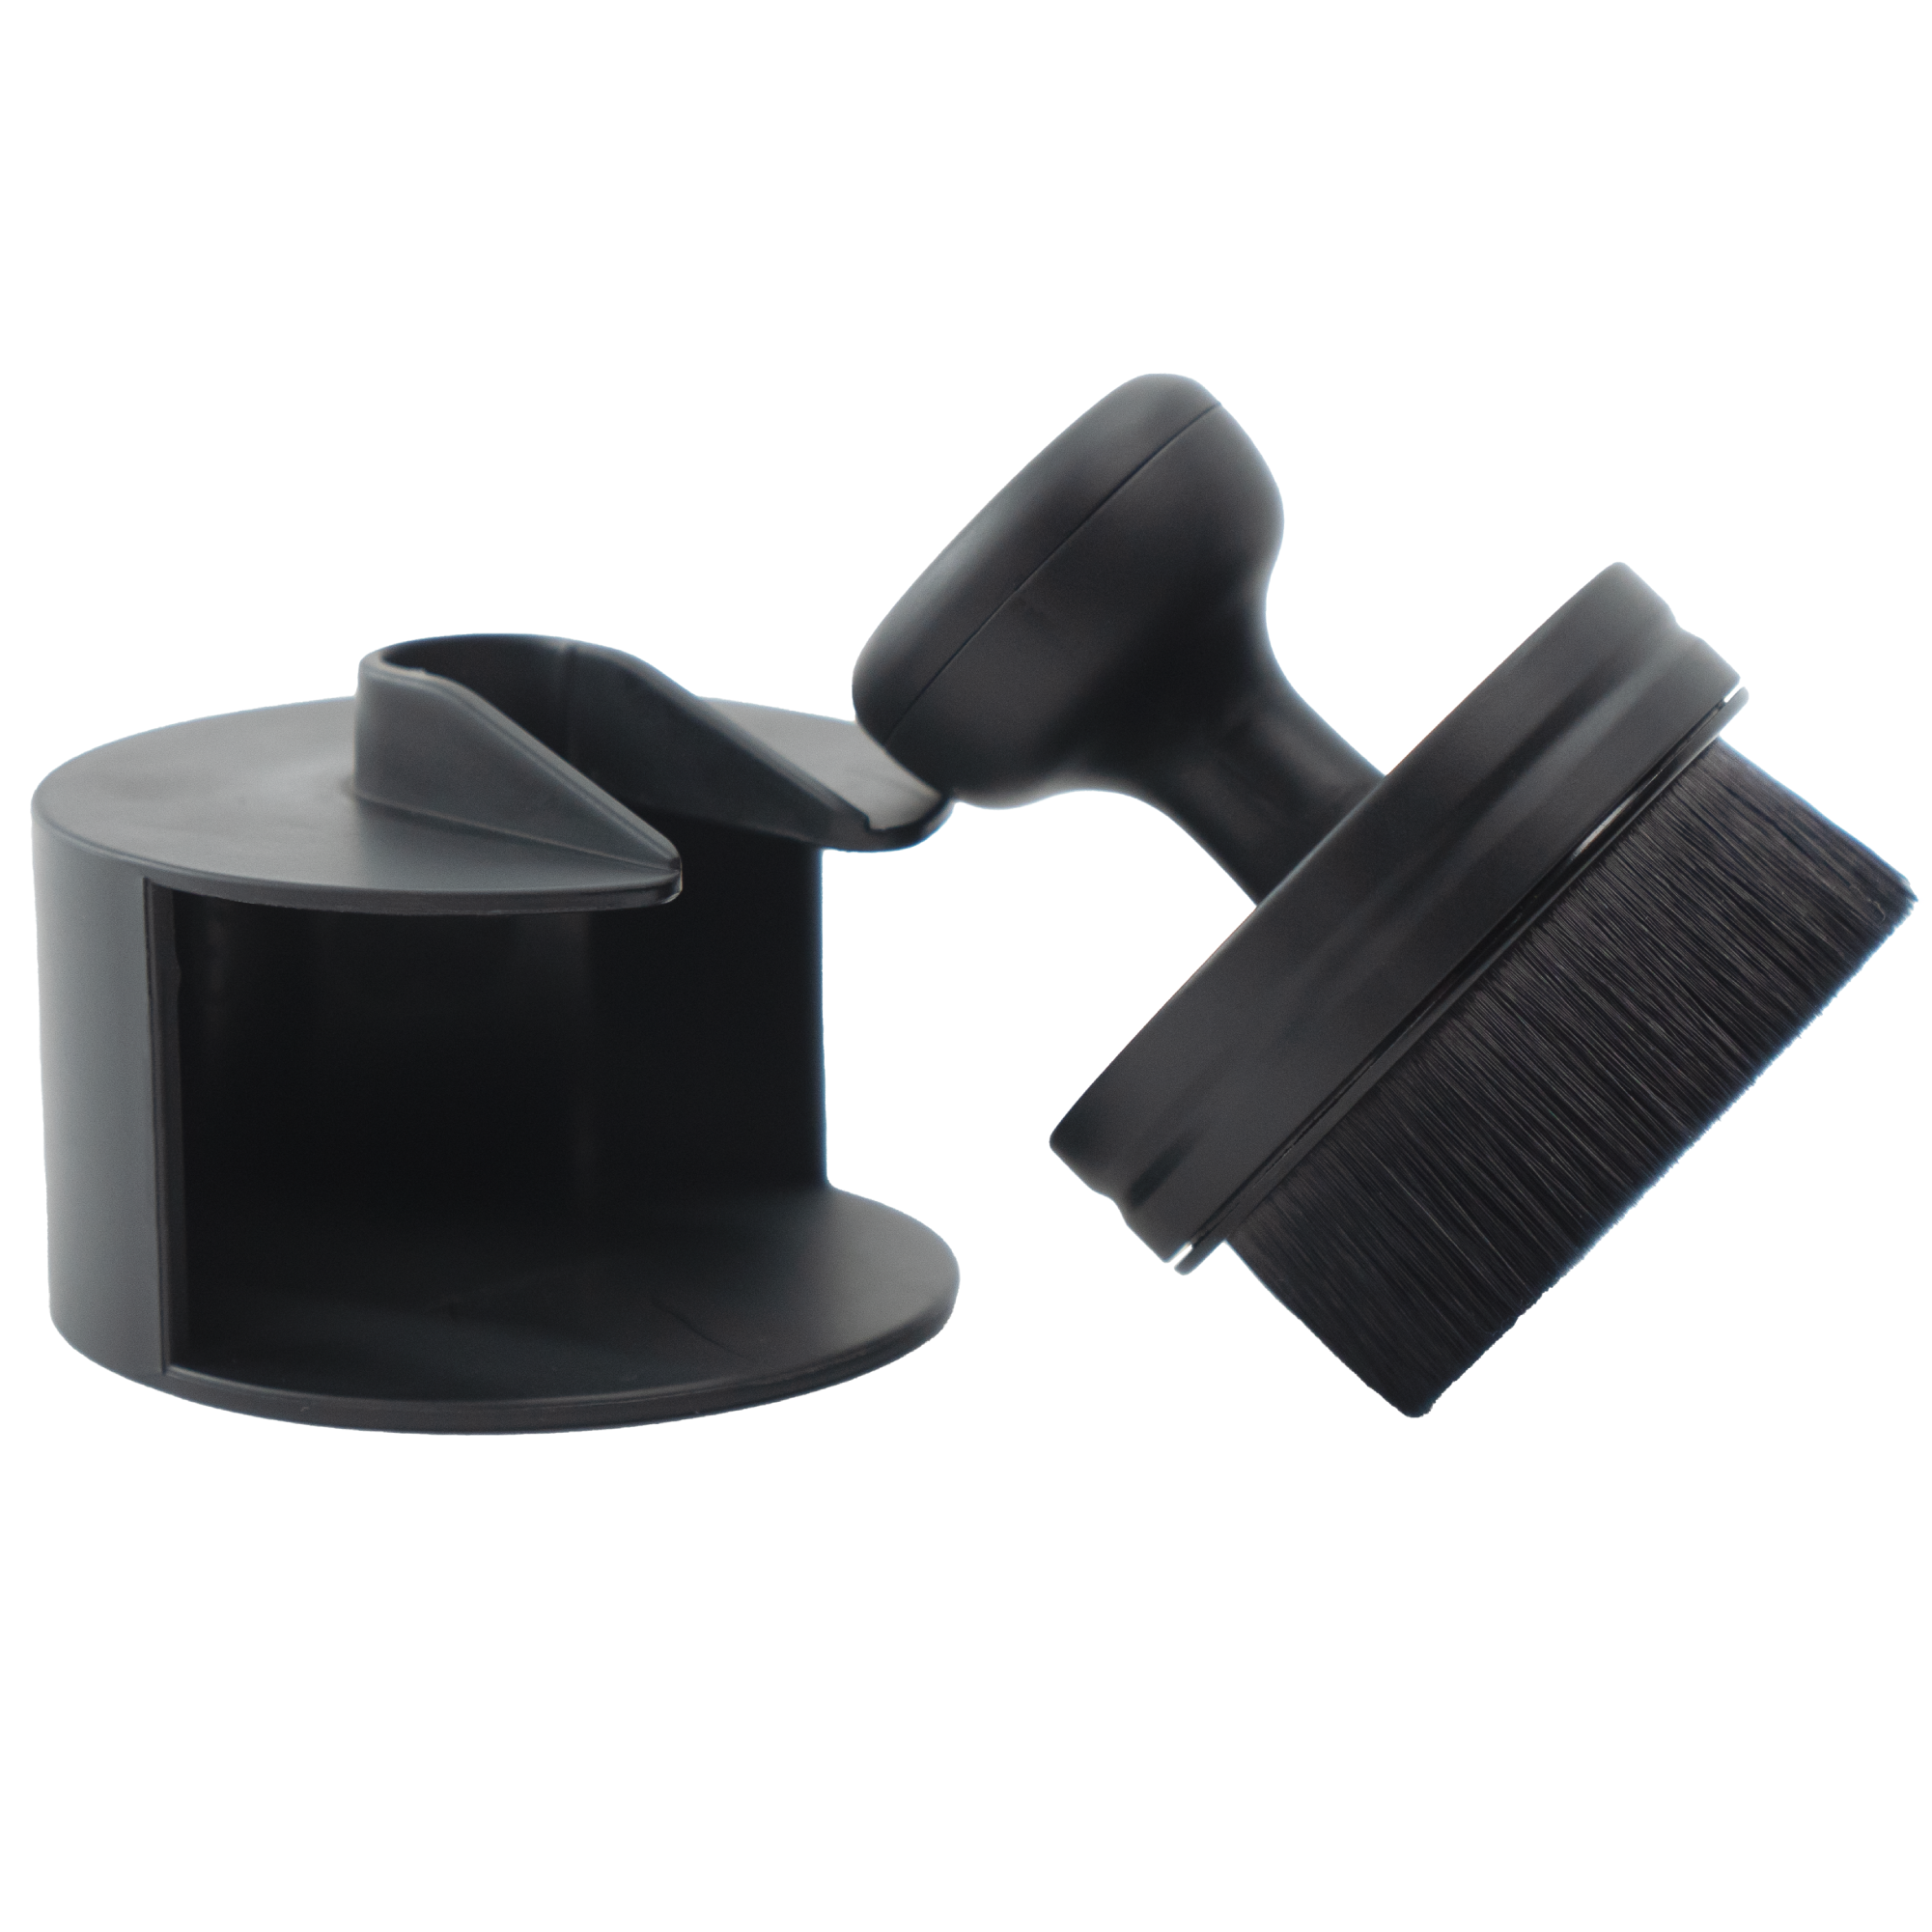
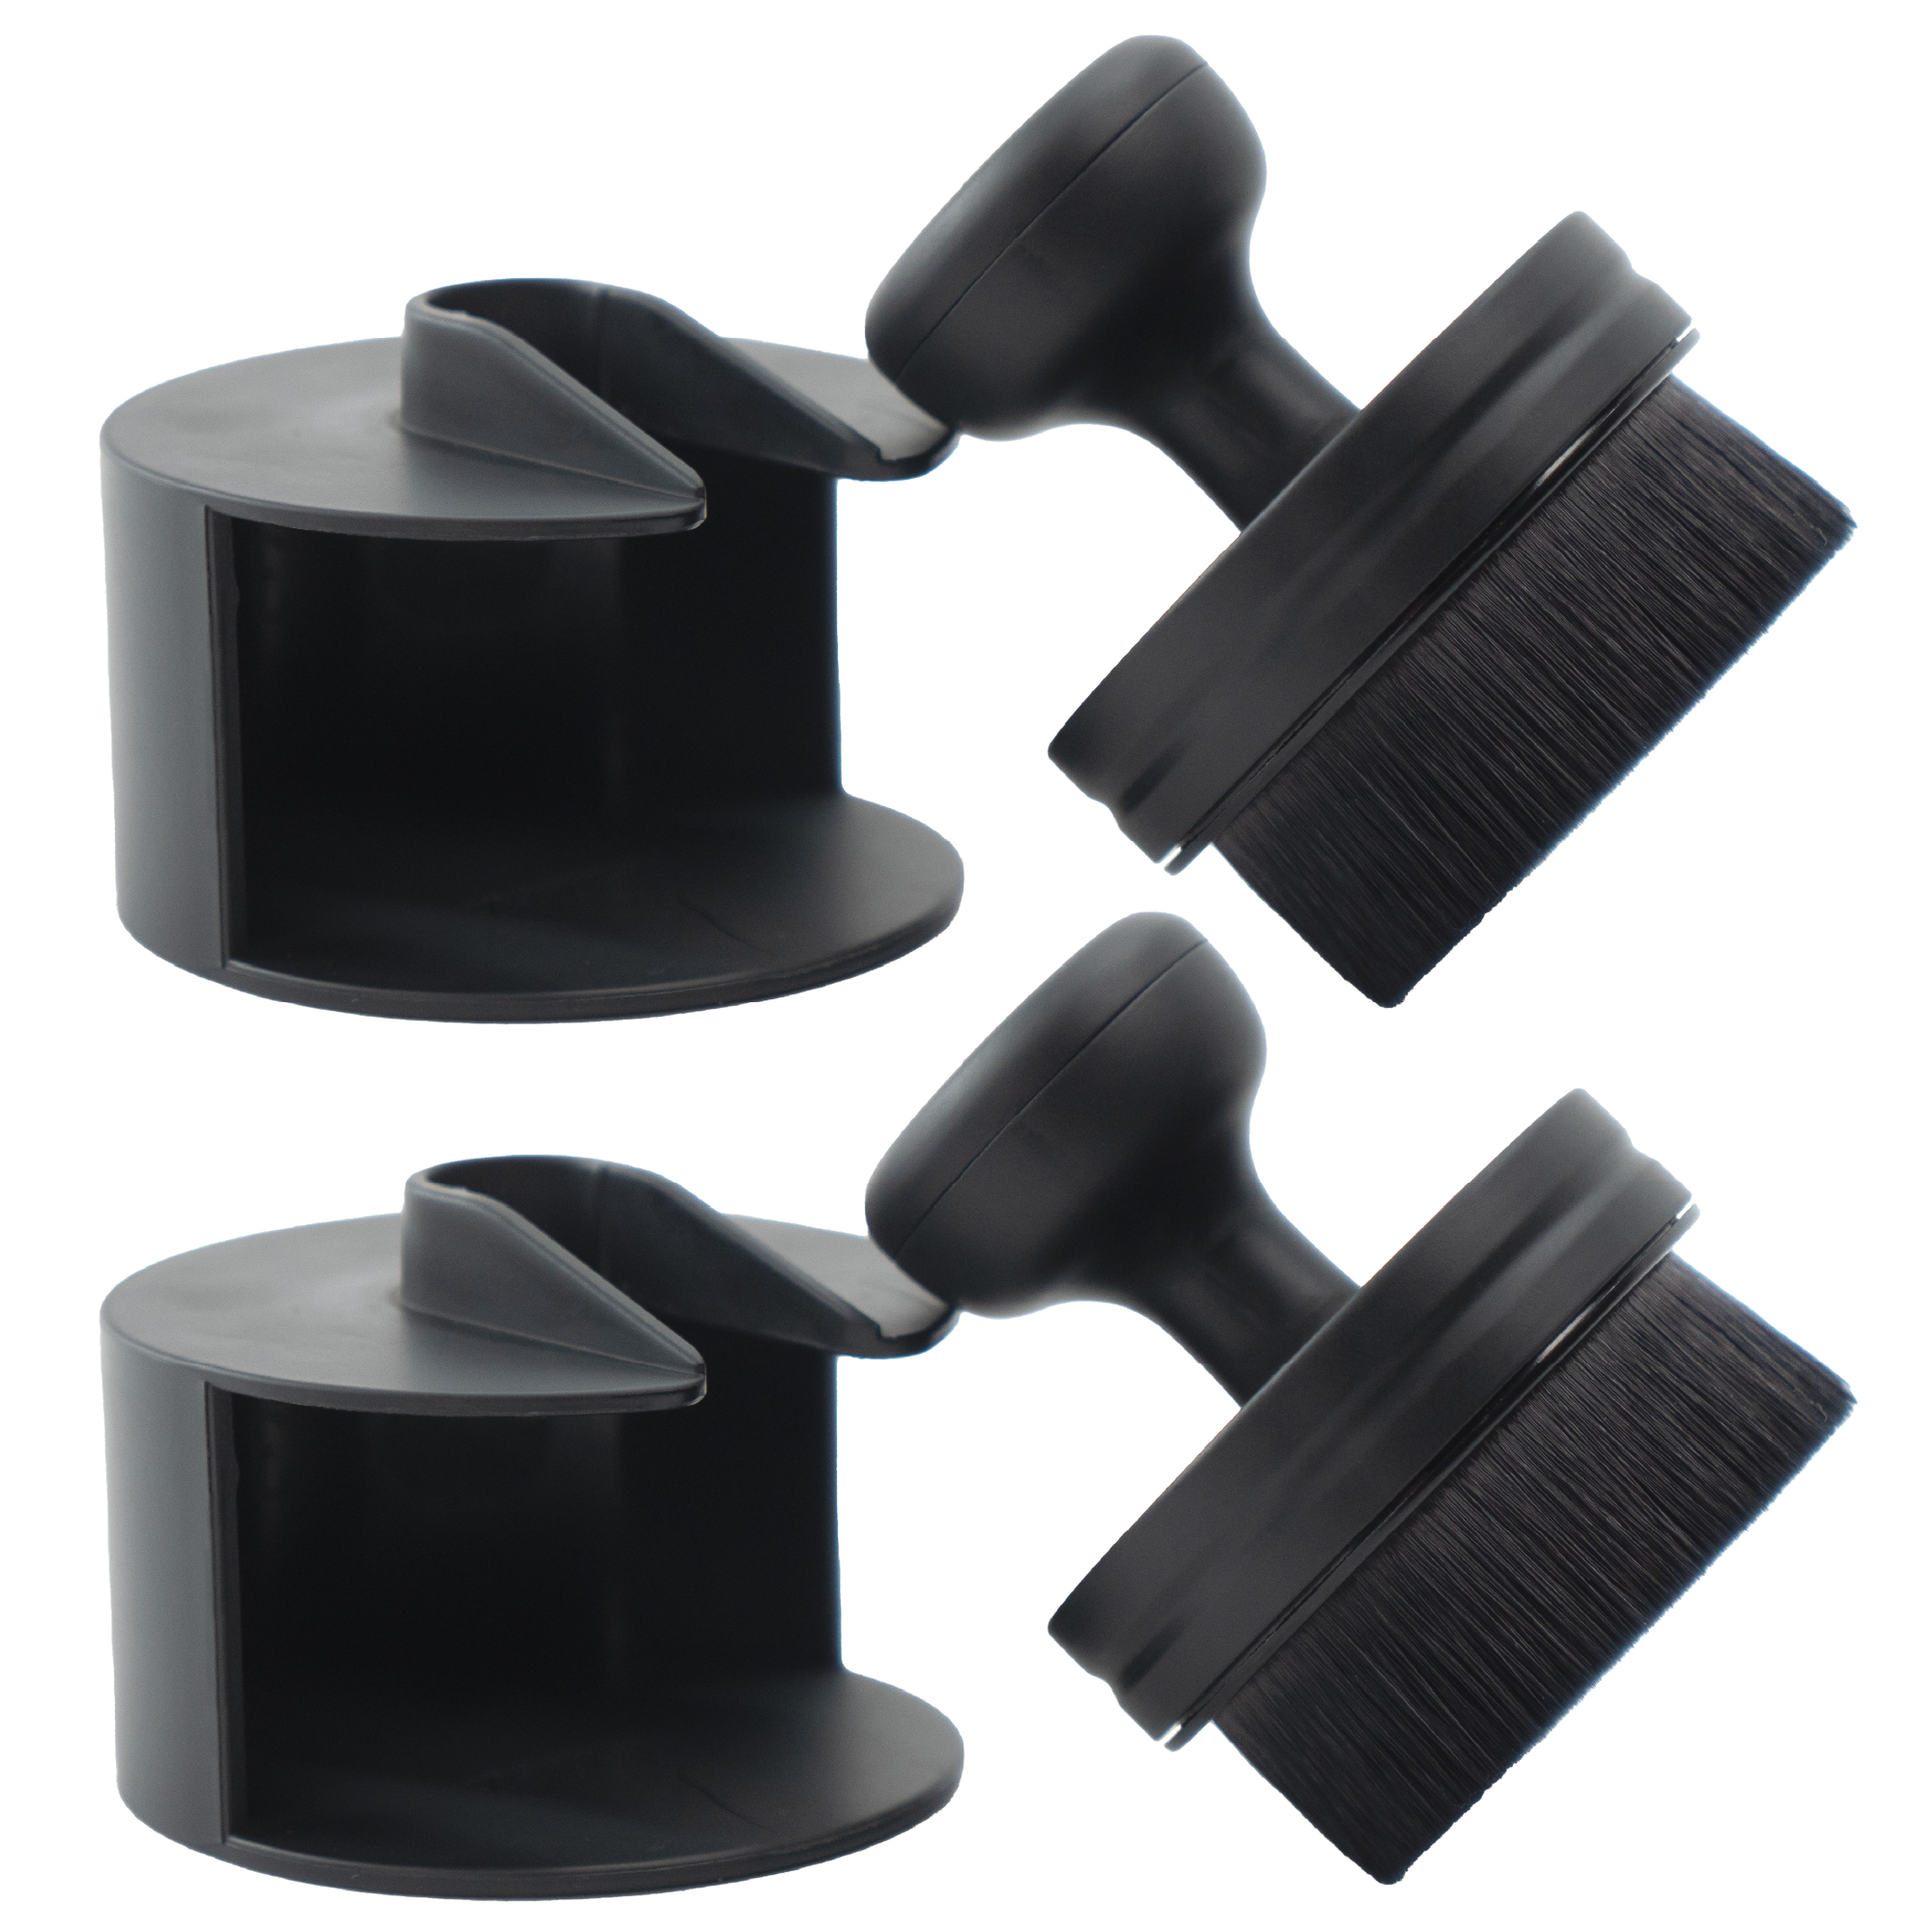
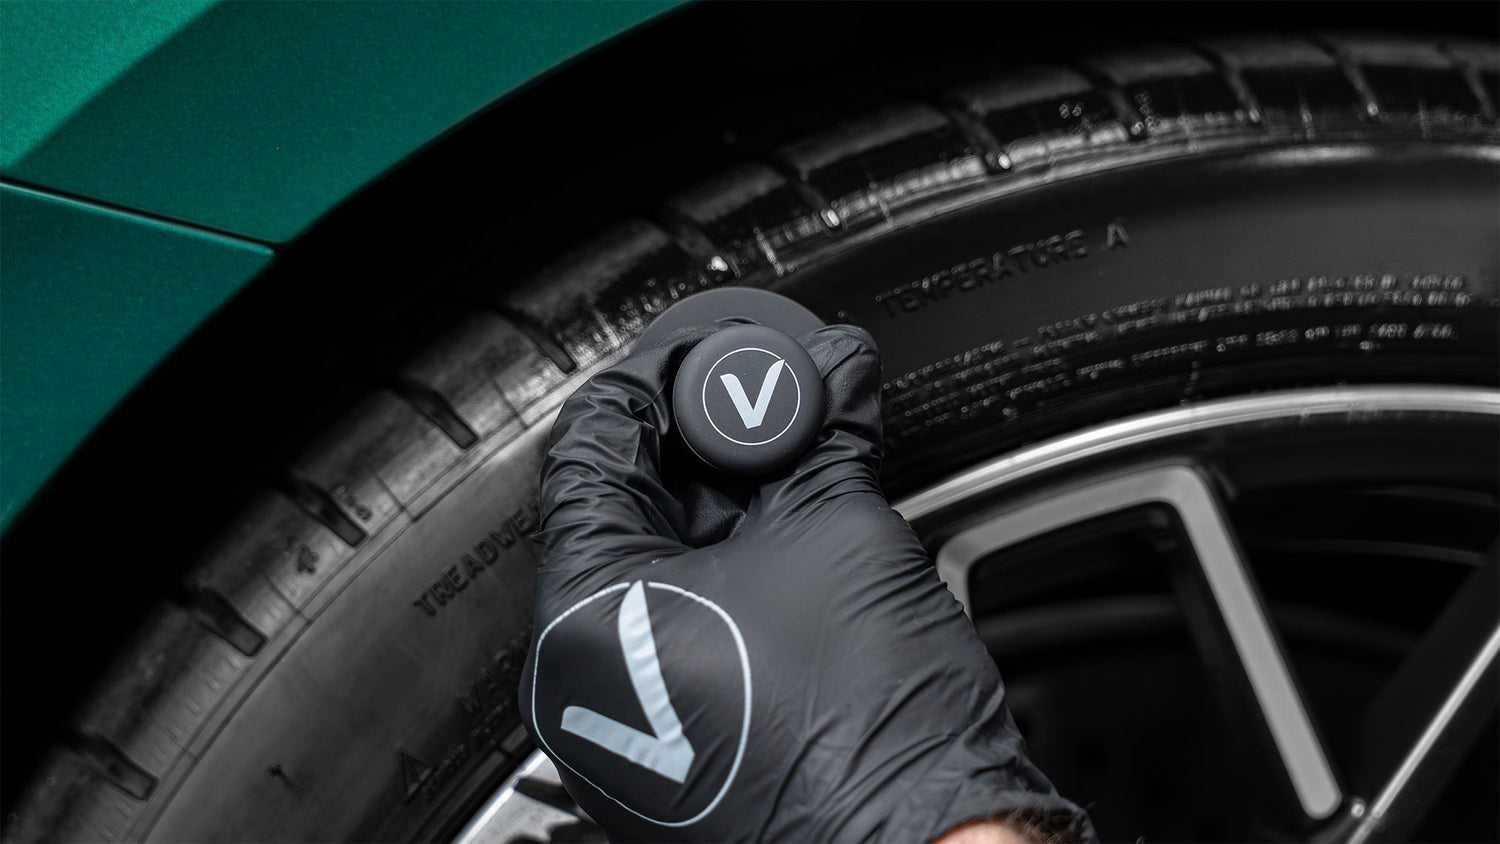
Step 2: Apply Product Correctly
- Gels and liquids: Apply to an applicator first for better control
- Aerosols: Spray lightly, then spread with an applicator

Step 3: Work It in Evenly
Evenly apply the product into the sidewall, including lettering and grooves. This step makes the biggest difference in appearance.
Step 4: Use Thin Layers
Apply a light, even layer. If you want more shine, add another layer after the first one sets.
Step 5: Let It Set Before Driving
Give the tire protectant a few minutes to dry. This helps reduce sling and improves durability.
Why Proper Tire Protection Application Matters
When tire shine is applied correctly:
- It lasts longer
- The finish looks even
- Tires stay darker and healthier
- Sling is reduced or eliminated
Tires have a big impact on how your car looks.

Pro Tip: Build Shine Gradually
If you want a glossier finish, don’t overload the tire. Apply multiple light layers instead of one heavy coat. This gives you more control and better results.
Tire Protection Quick Summary
- Start with clean, dry tires
- Choose the tire shine style you prefer
- Use an applicator whenever possible
- Apply thin, even layers
- Let the product set before driving
That’s how you get tires that look good — and stay looking good.