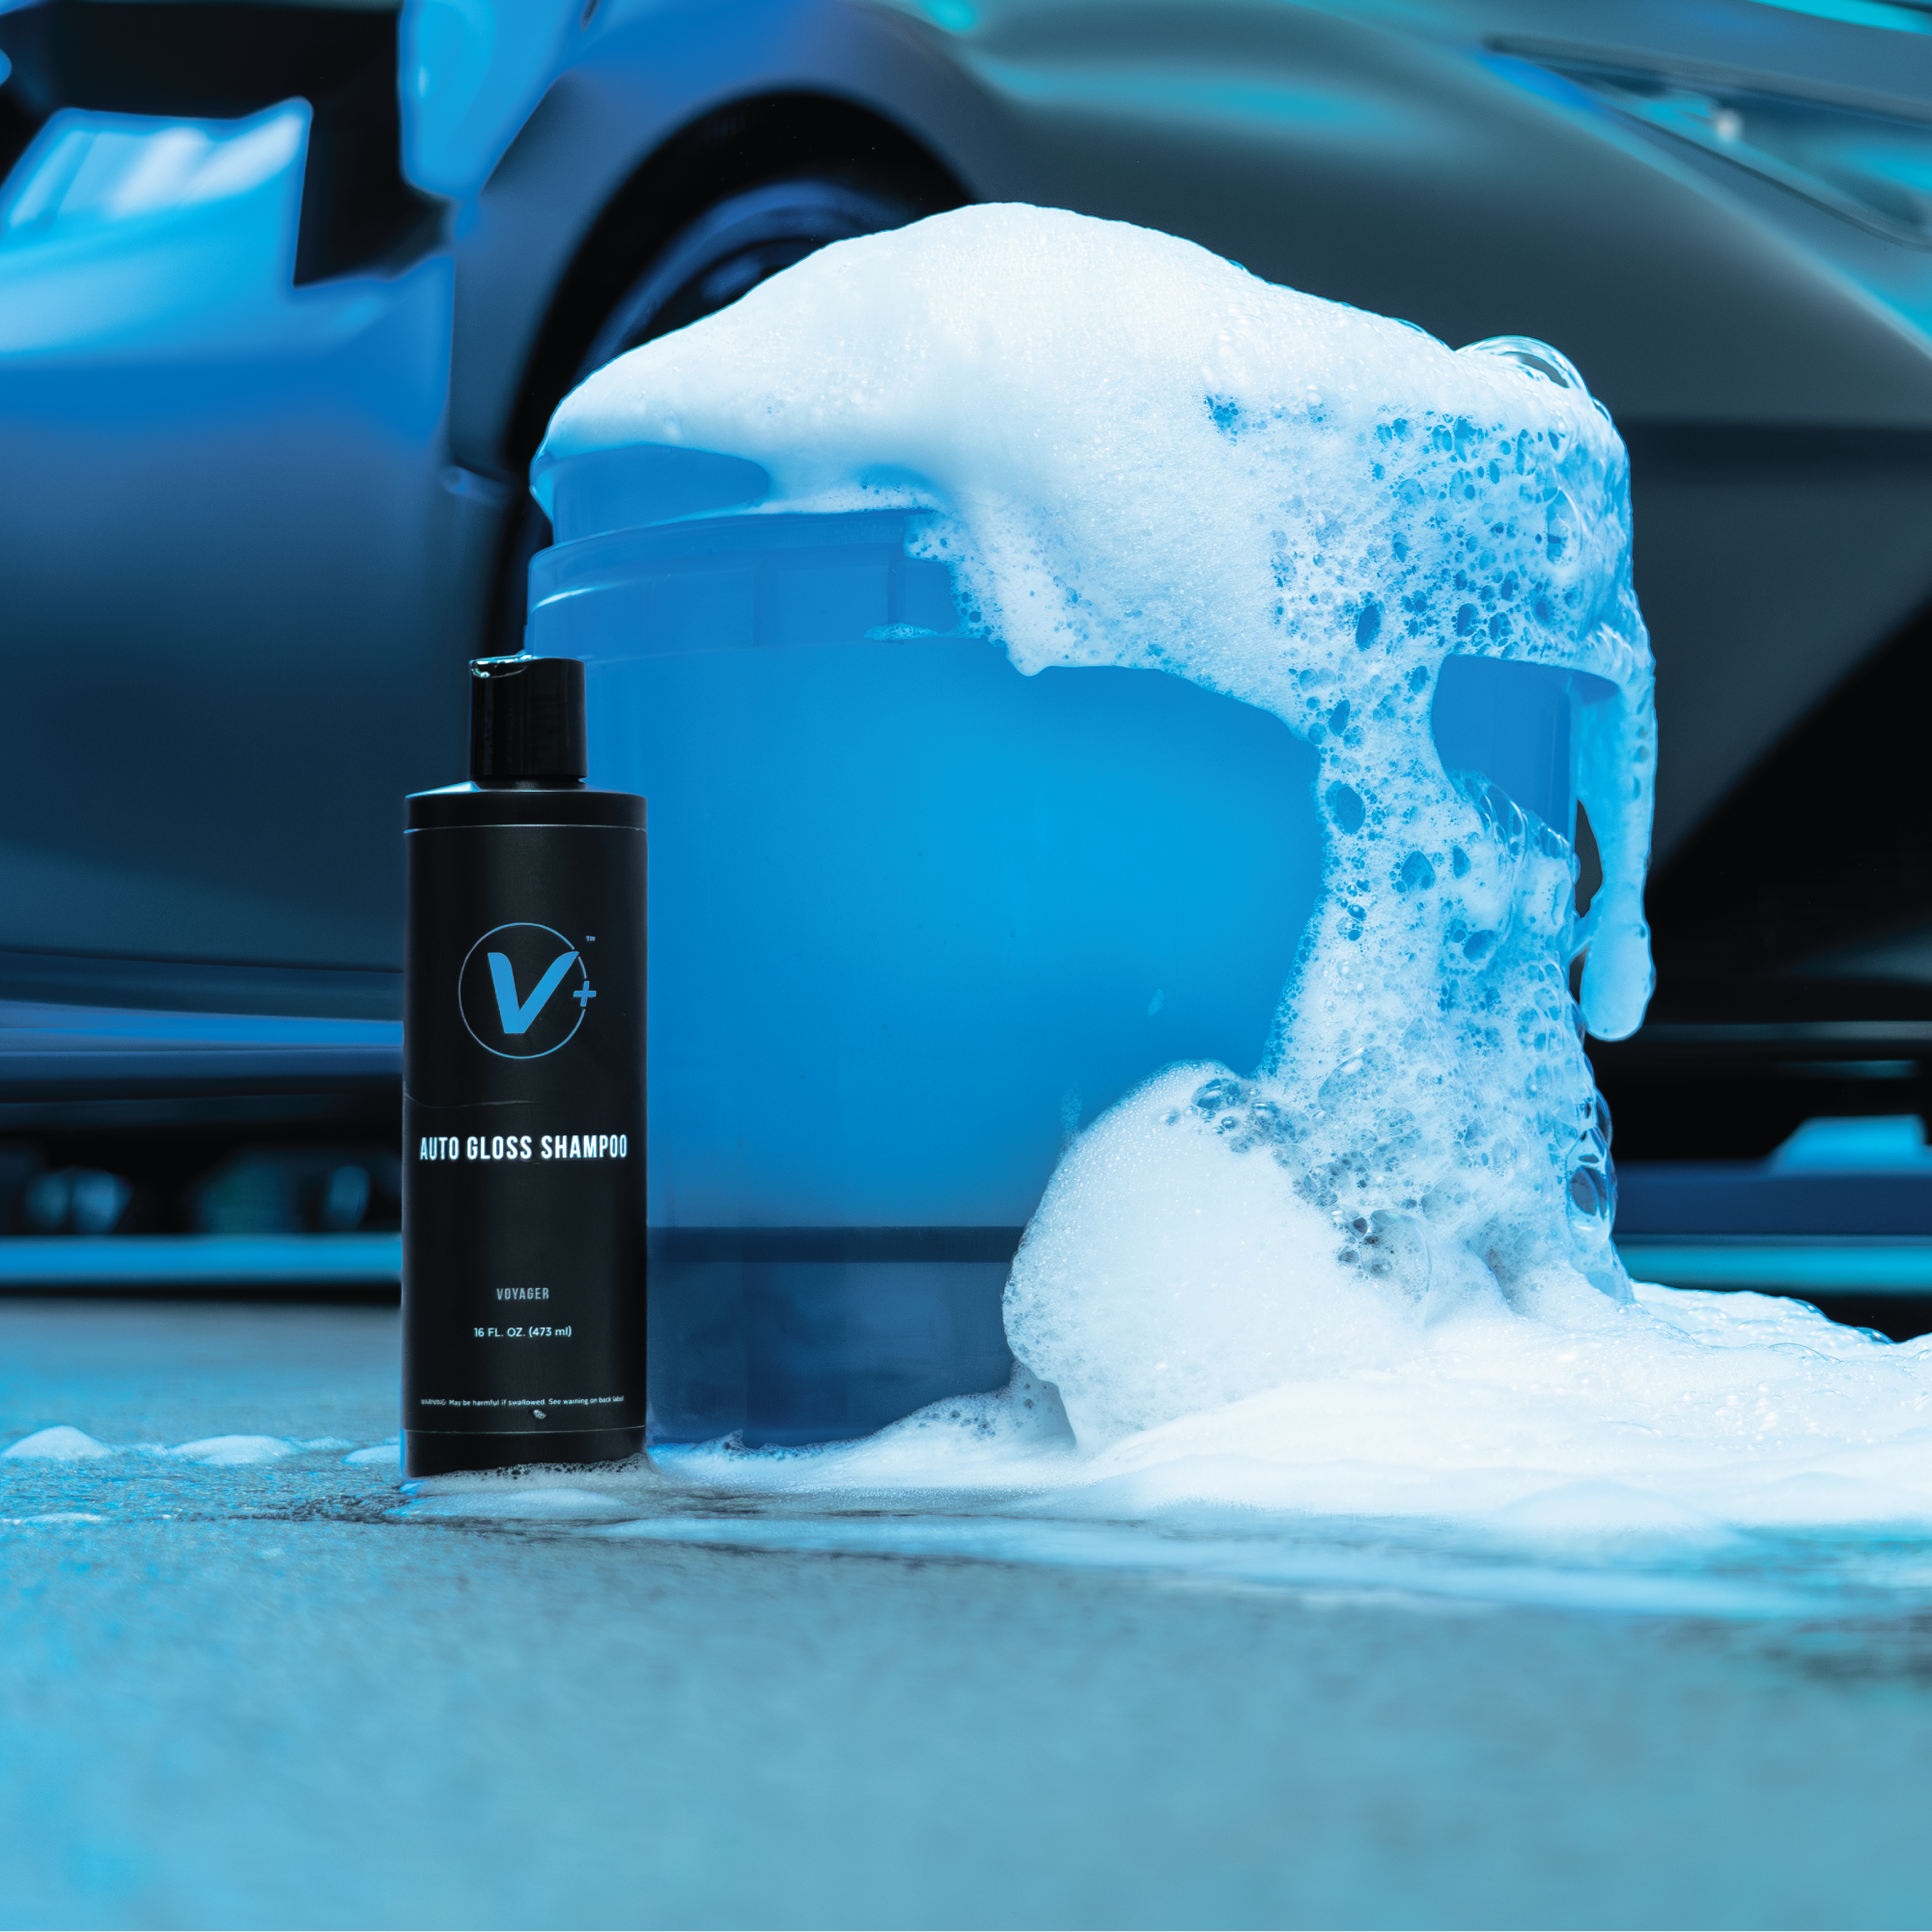
If you’re looking for one of the easiest ways to make washing your car safer and more efficient, a foam cannon is one of the best tools you can add to your setup.
It’s not just about the thick layer of foam—it’s about what that foam actually does.
A foam cannon helps loosen dirt and road buildup before you ever touch the paint, which is what makes your wash process safer and more effective.
Why a Foam Cannon Matters
One of the biggest causes of swirl marks and light scratches isn’t the wash mitt—it’s the dirt sitting on your paint when you start washing.
When you go in with a mitt on a dirty surface, you risk dragging that dirt across the paint.
A foam cannon helps prevent that.
What it does:
- Loosens dirt before contact
- Adds lubrication to the surface
- Reduces friction during your wash
Bottom line: The cleaner your surface is before you touch it, the lower your risk of scratching over time.
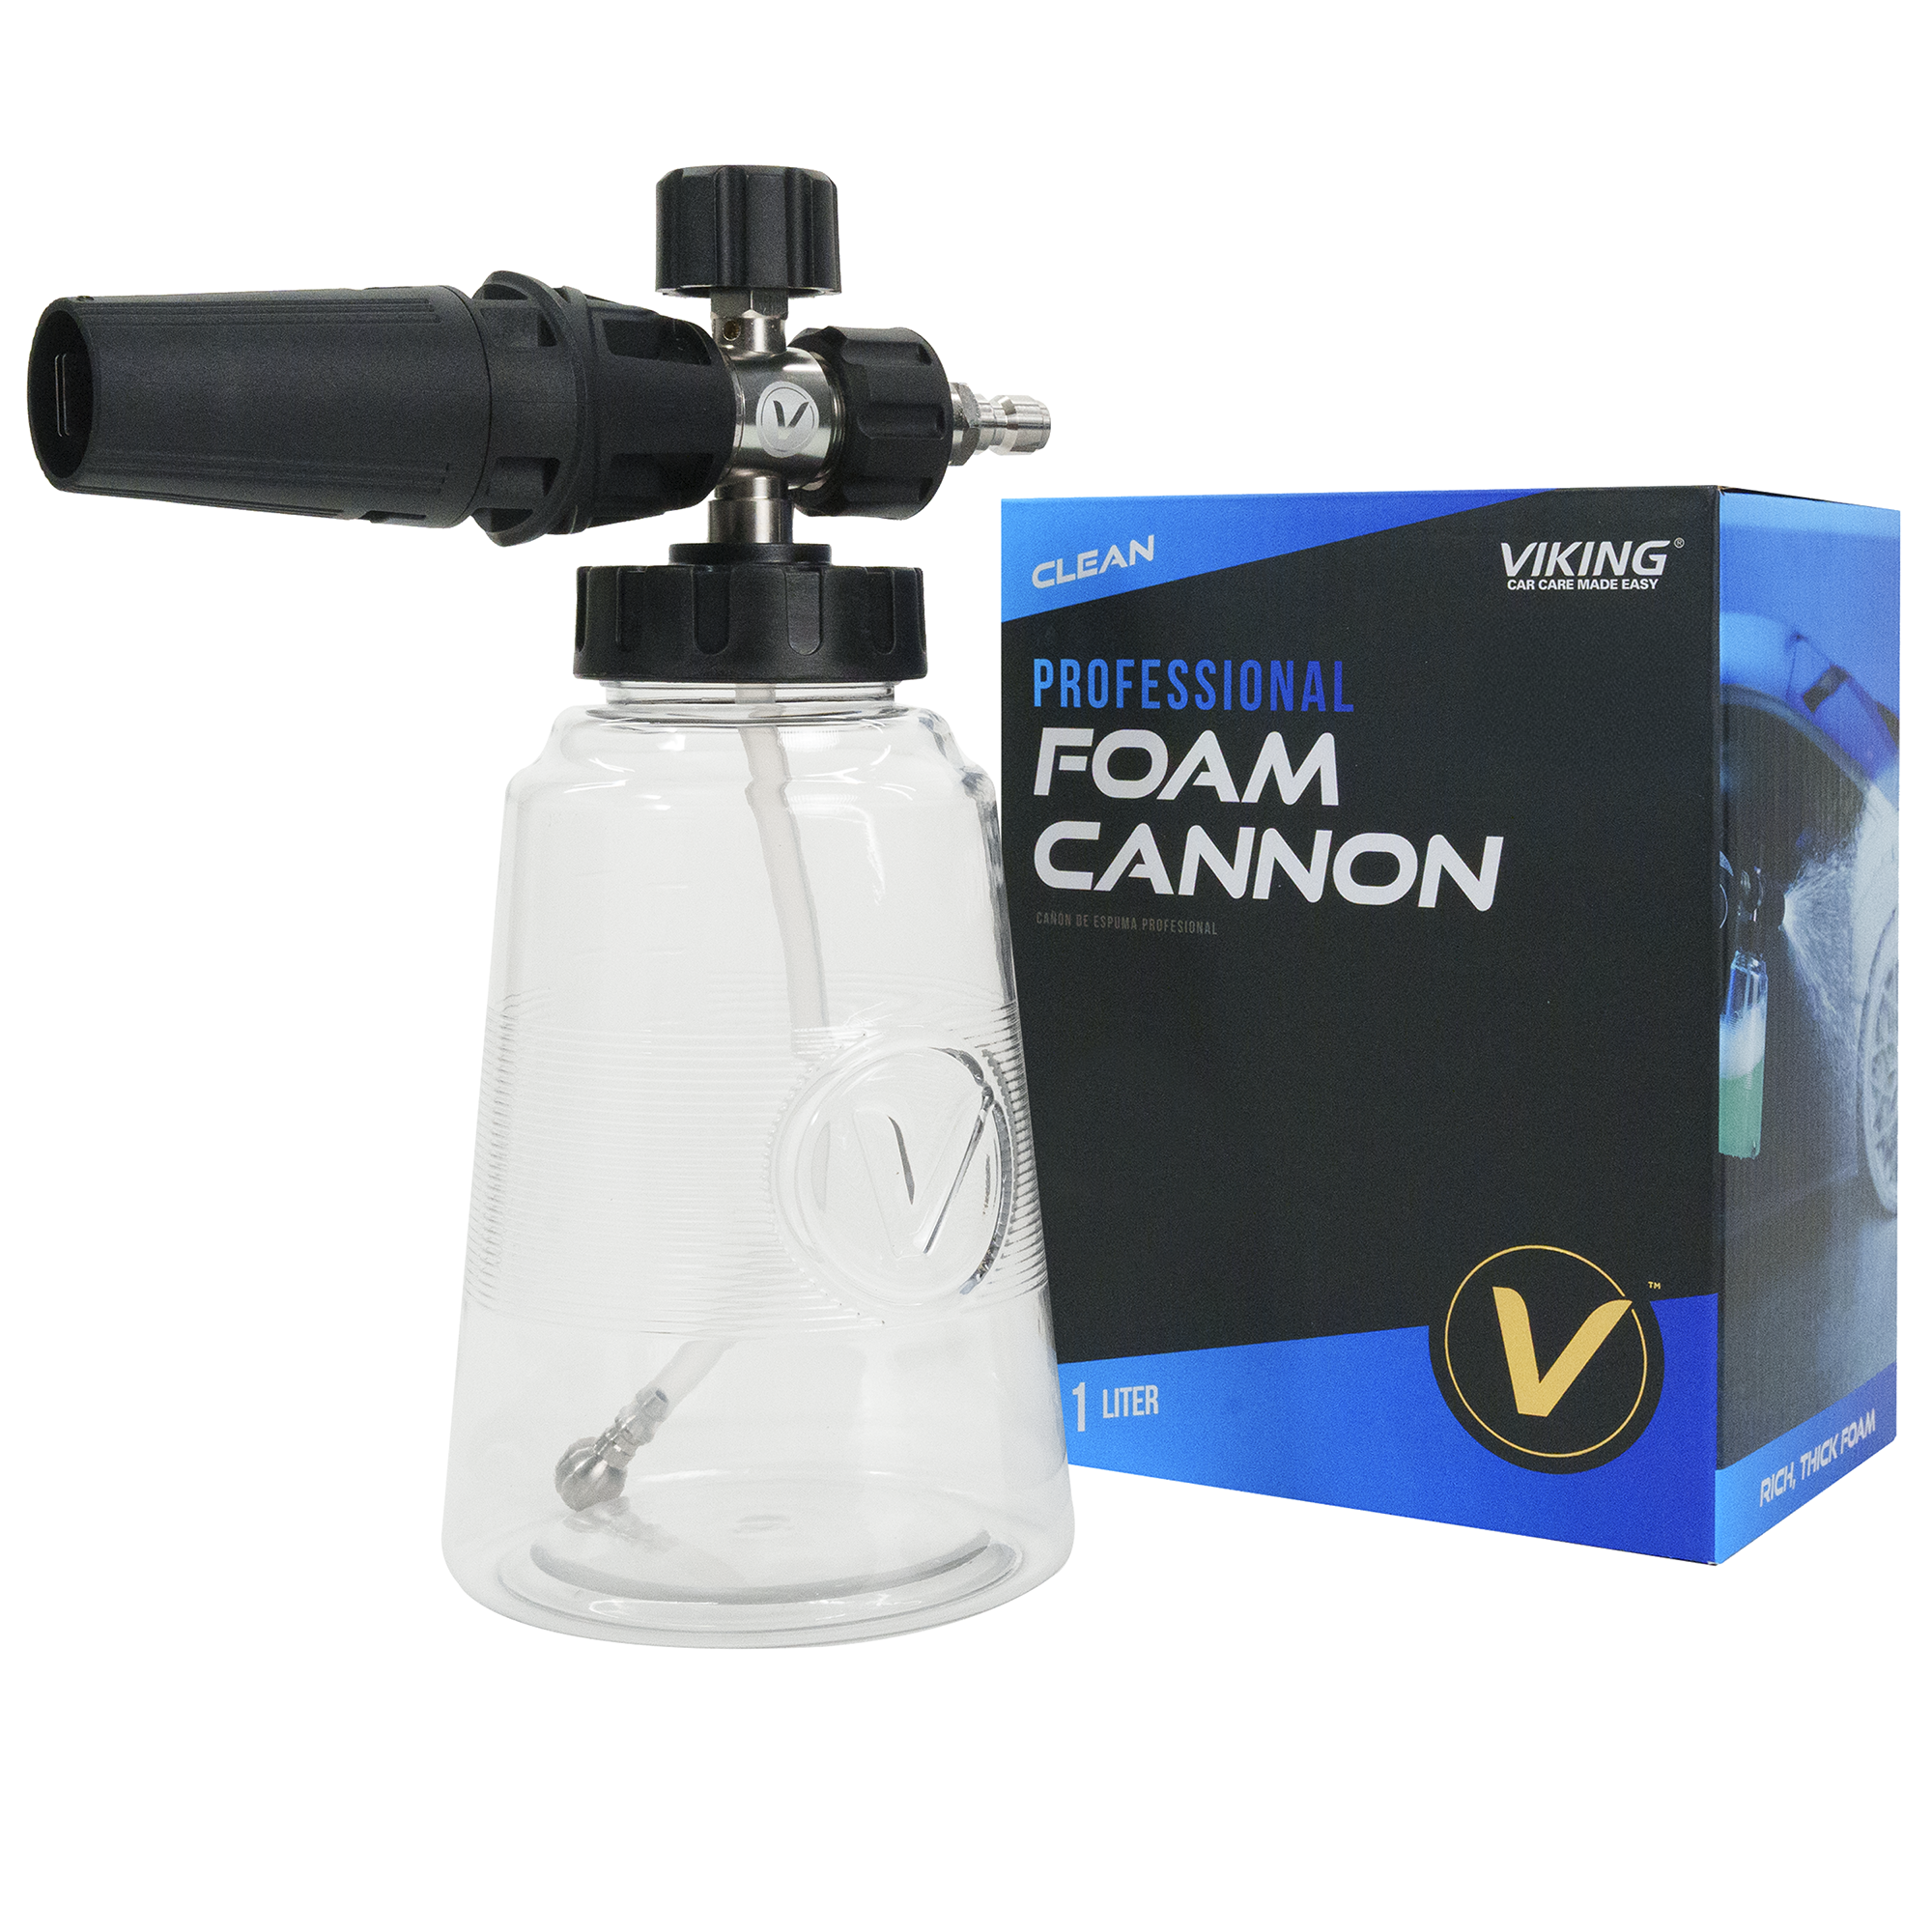
What You Need to Get Started
Using a foam cannon doesn’t require a complicated setup, but the right tools matter.
Basic setup:
- Pressure washer
- Foam cannon
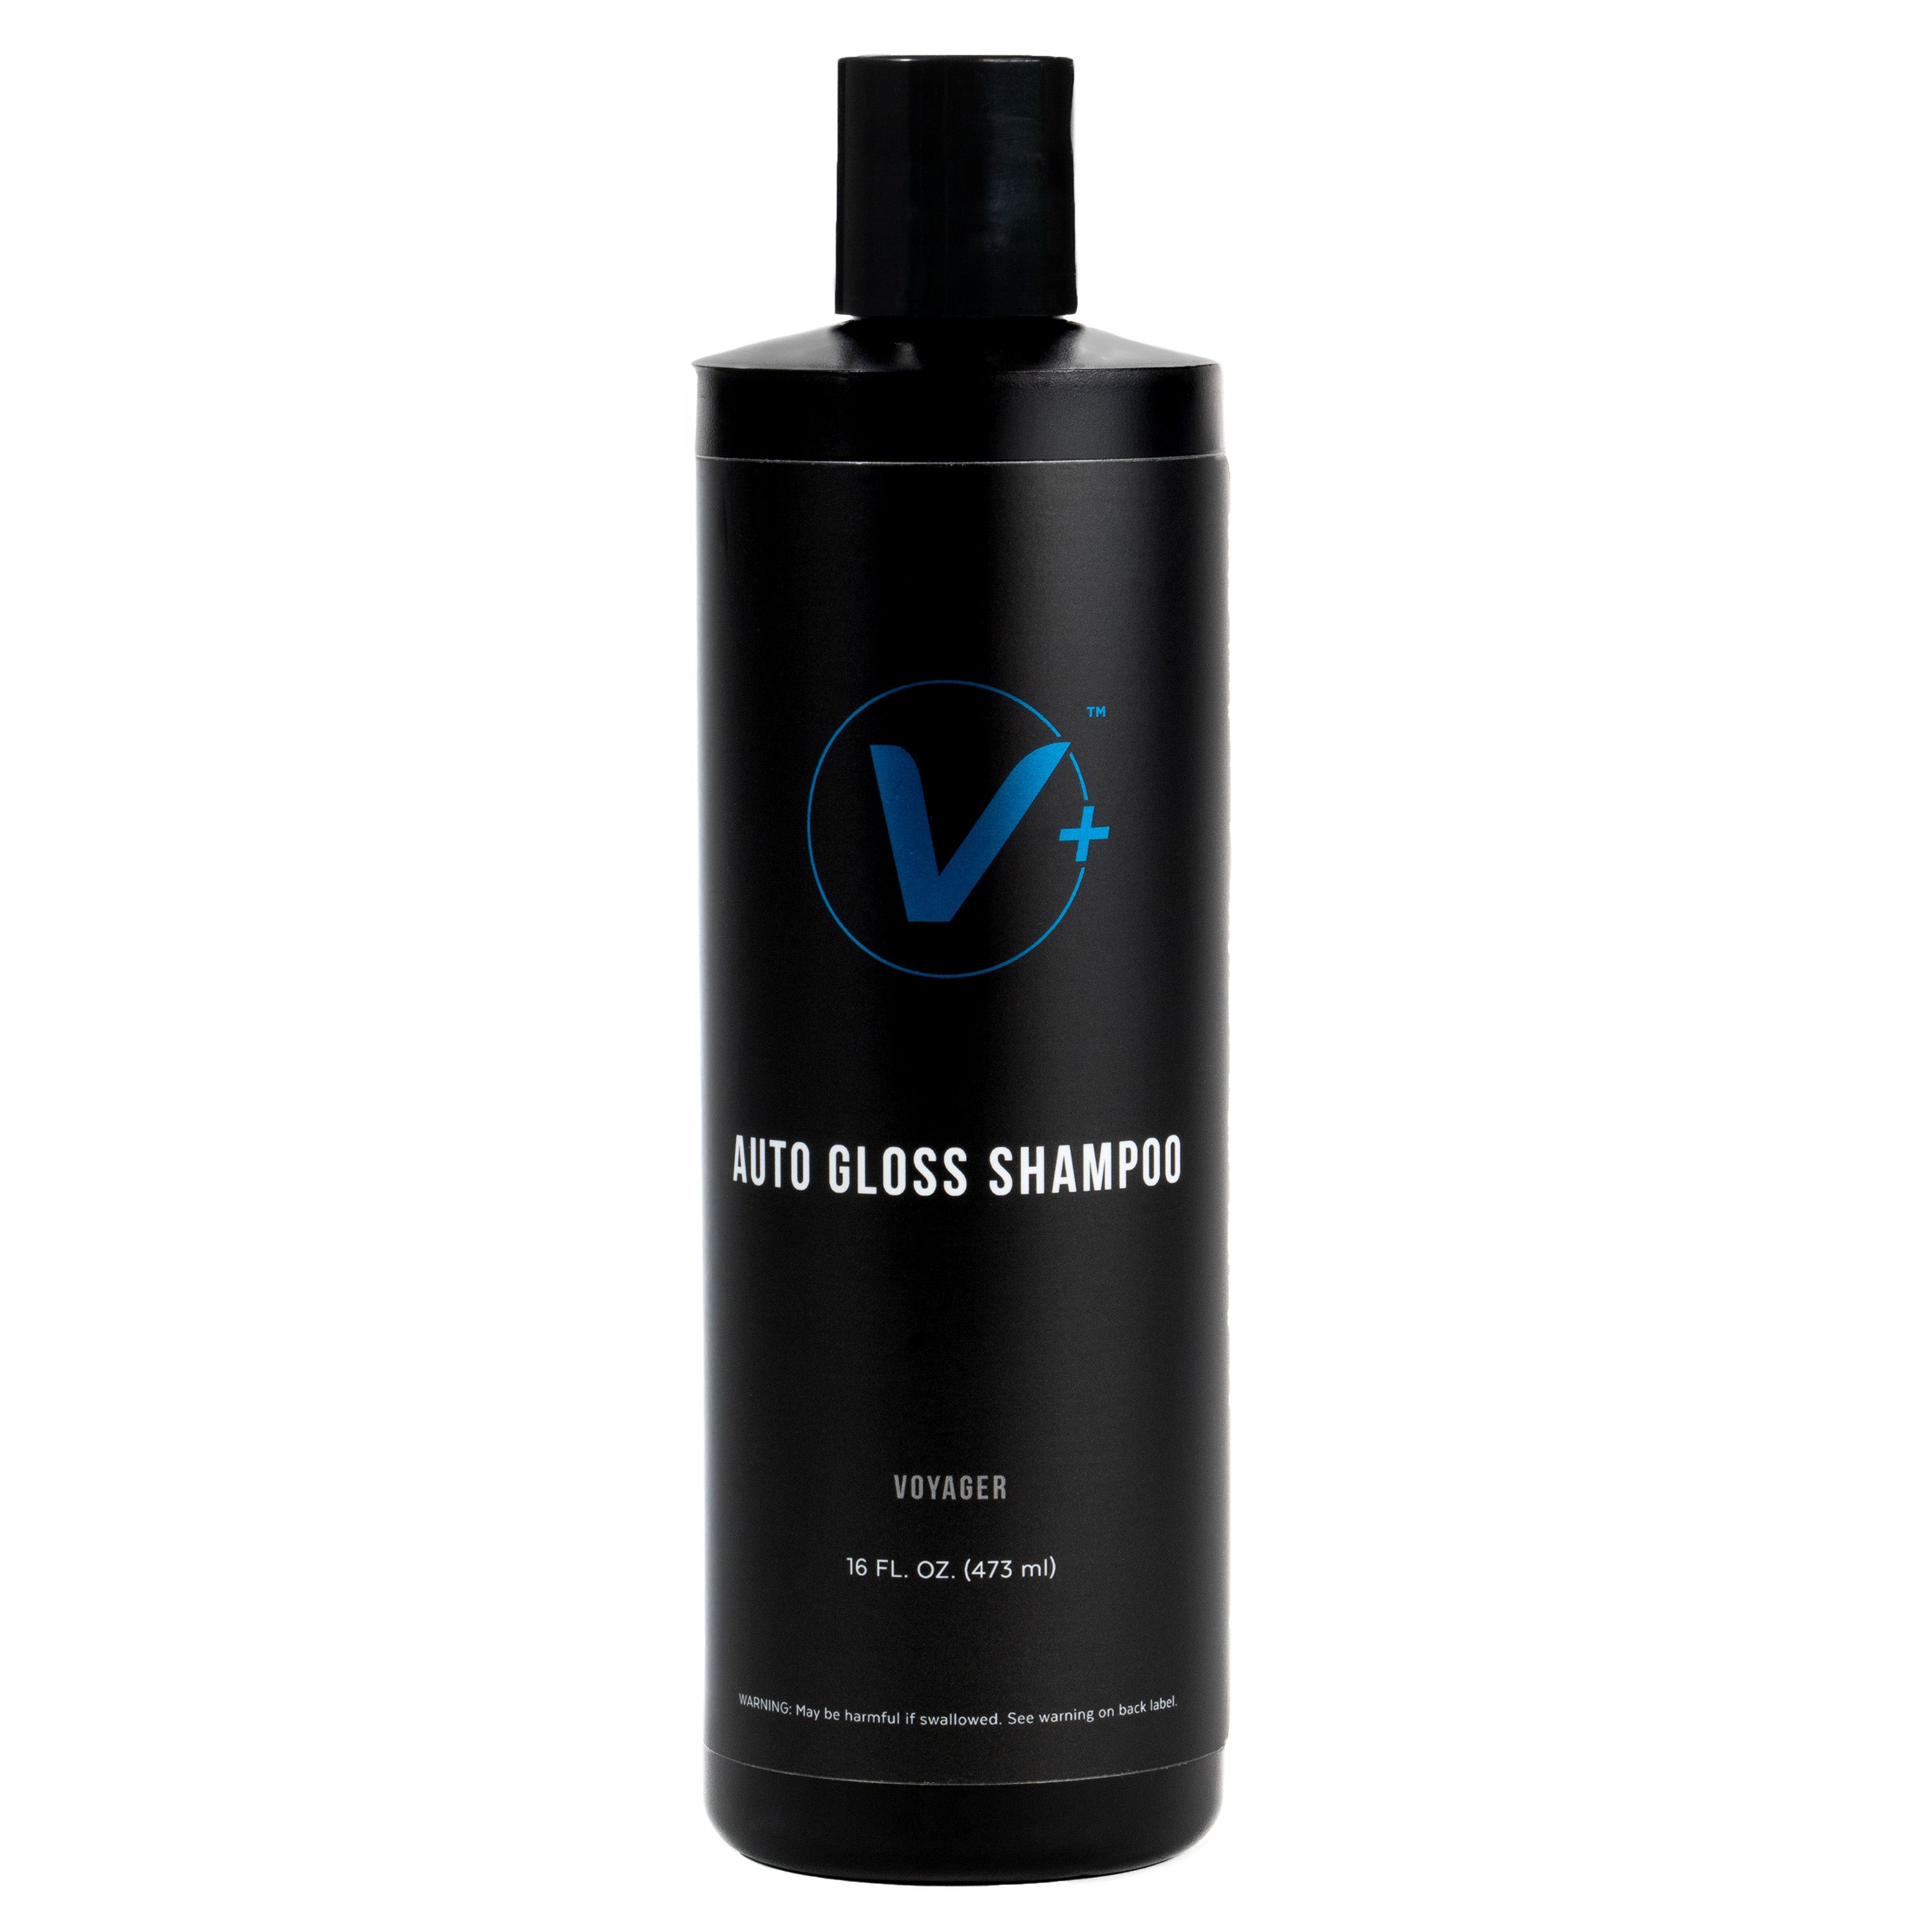
- Quality car wash soap
Avoid shortcuts here—especially with soap. A proper car wash soap is designed to foam correctly and stay safe on your paint. Dish soap or household cleaners can strip protection and reduce lubrication.

How to Use a Foam Cannon (Step-by-Step)
Step 1: Prep your vehicle
- Make sure the car is cool to the touch
- Stay out of direct sunlight
- Work in a controlled environment if possible
These basics help prevent water spotting and soap drying too quickly.
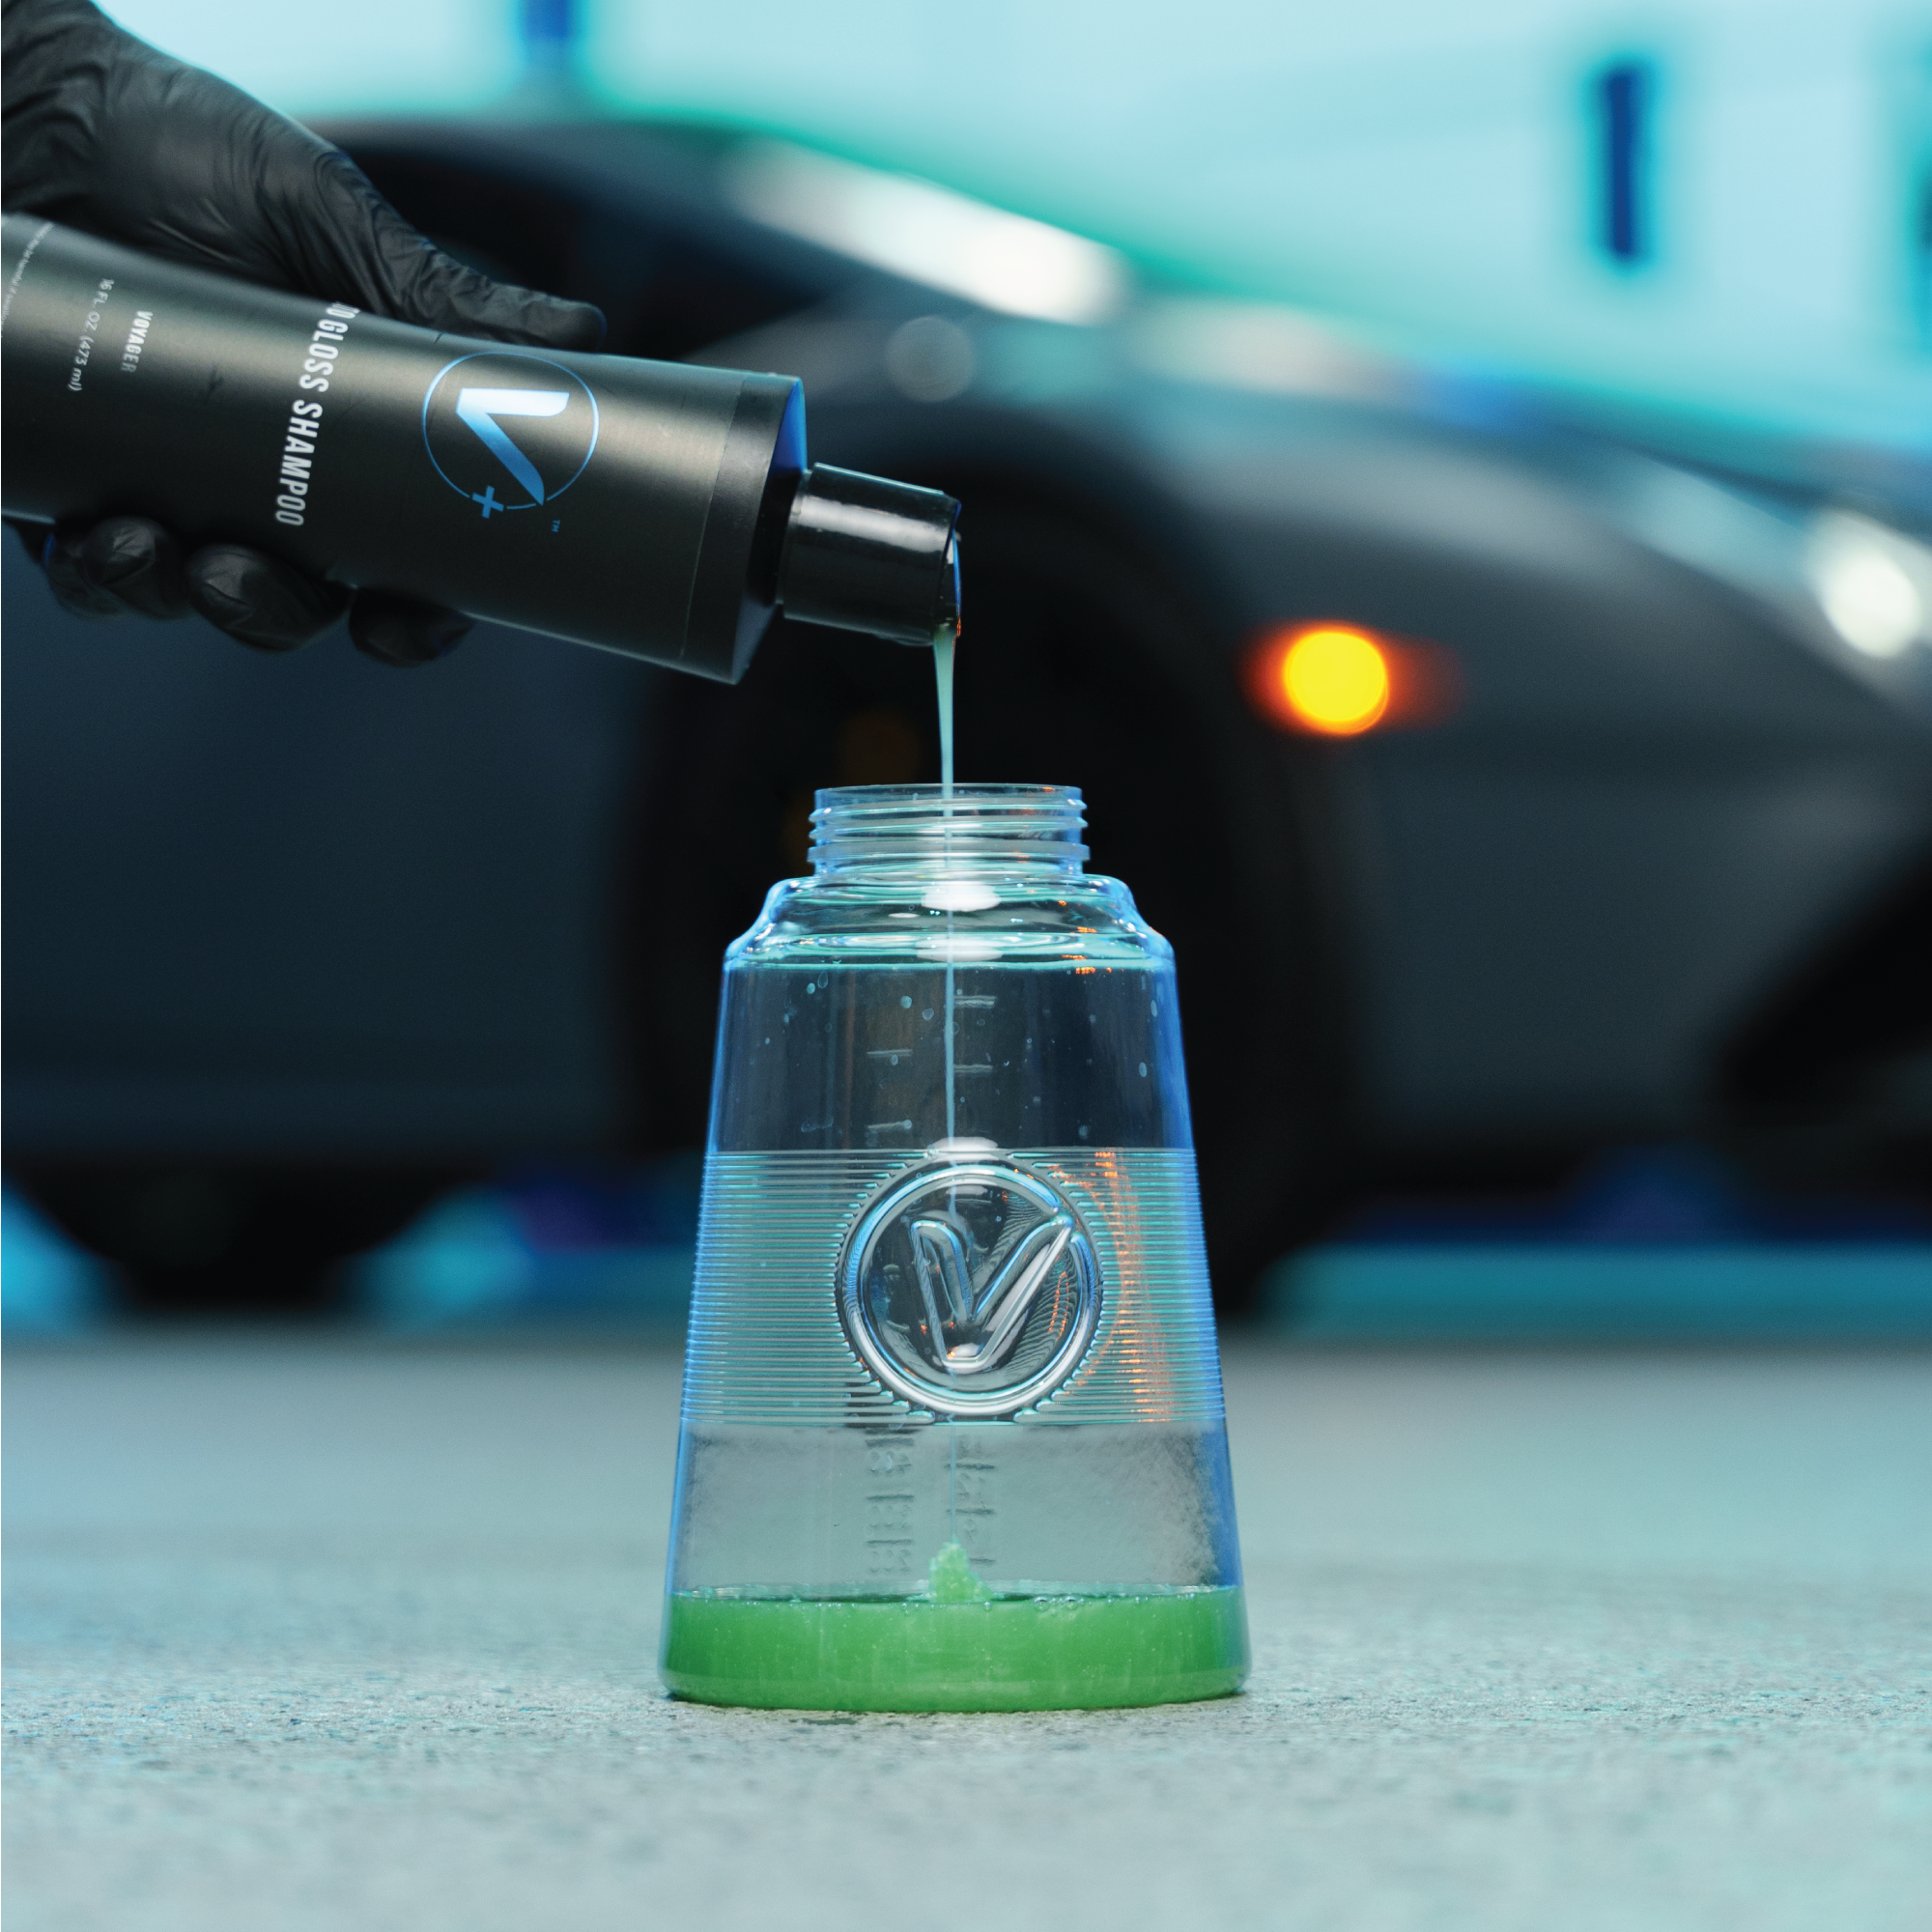
Step 2: Mix your foam solution
- Fill the foam cannon bottle with water first
- Then add your soap
This helps blend the solution evenly and prevents excessive foaming during setup.
Always follow the dilution ratio on your soap—some formulas are more concentrated than others.

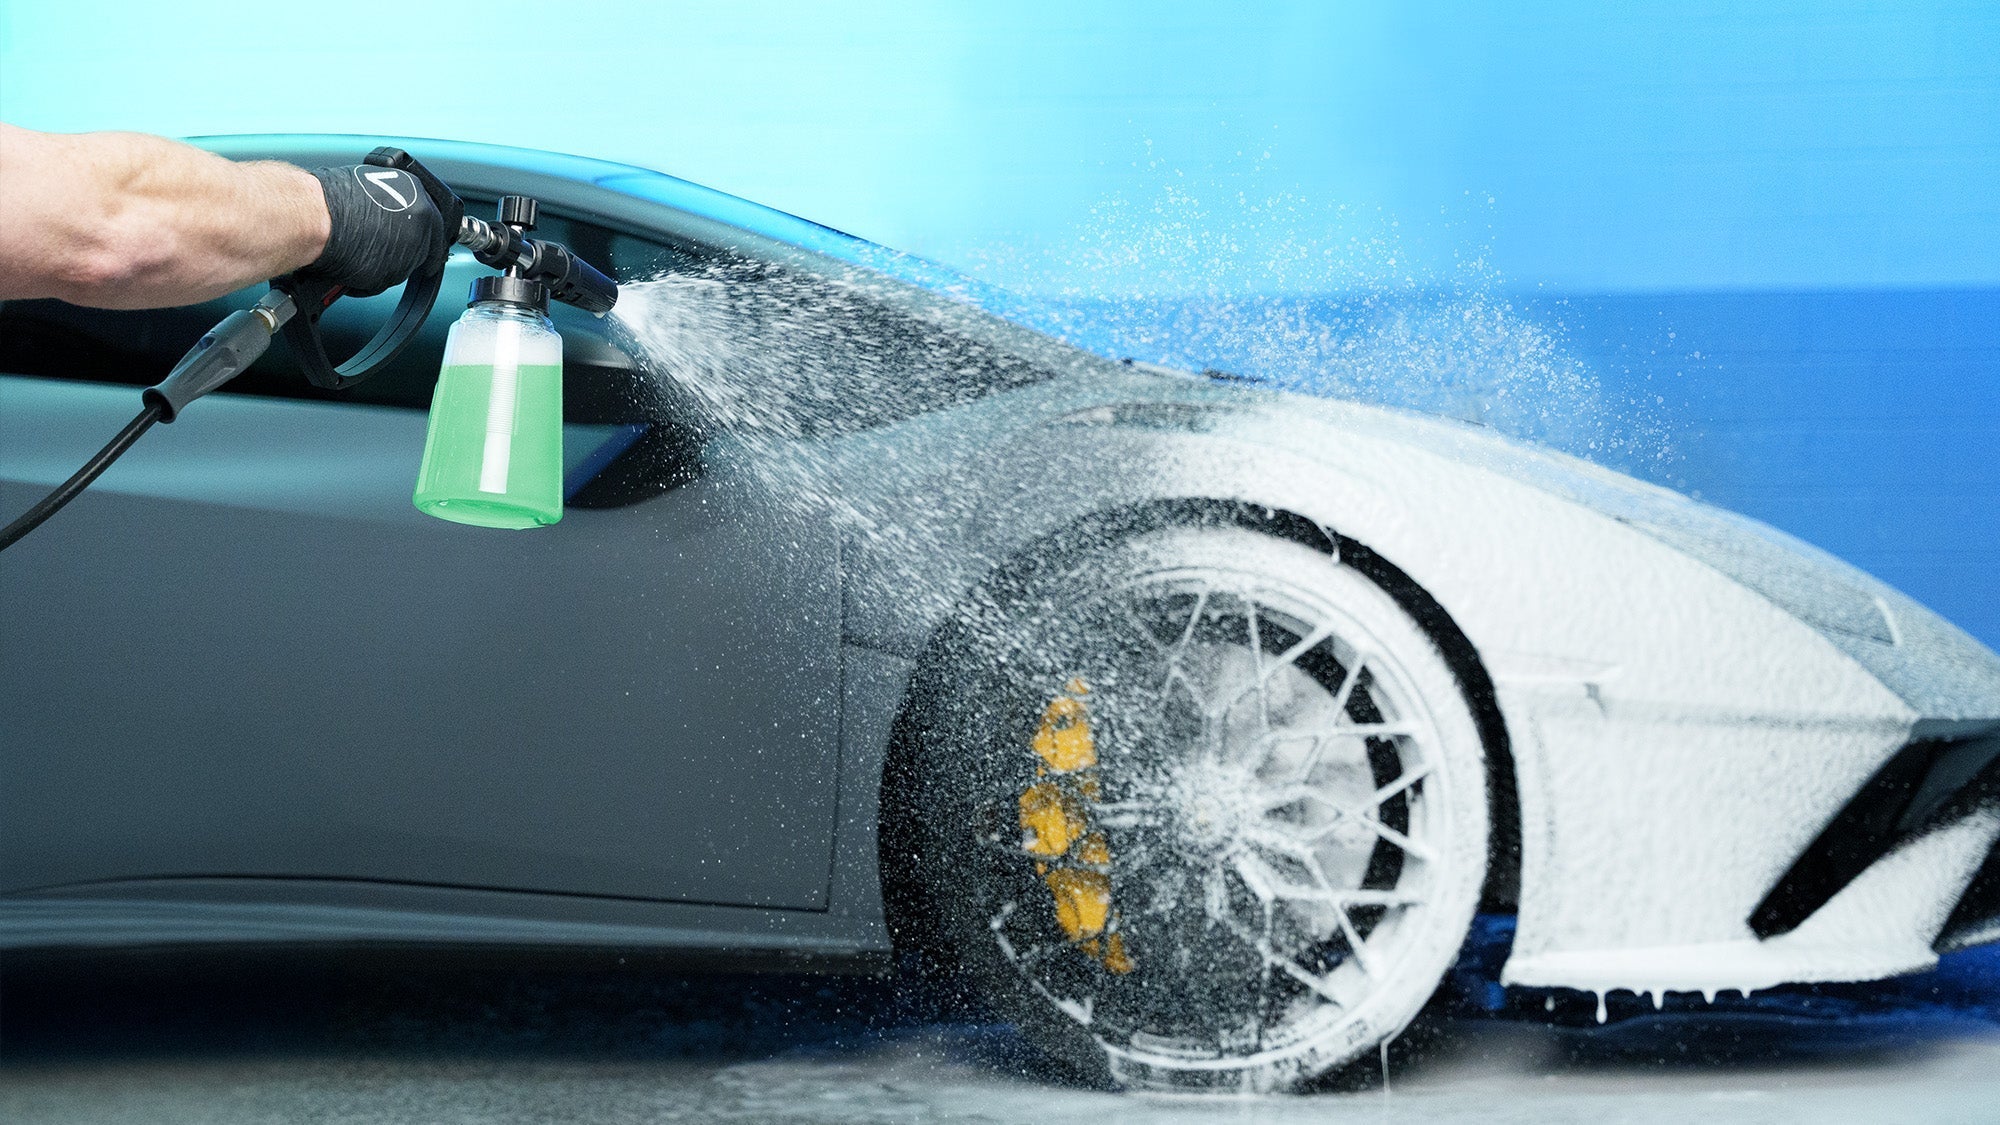
Step 3: Apply foam (on a dry surface)
This is one of the most misunderstood steps.
Do NOT rinse the car first.
Applying foam to a dry surface allows it to:
- Stick longer
- Break down dirt more effectively
- Provide better coverage
If the surface is already wet, the foam slides off too quickly and loses effectiveness.
Step 4: Let it dwell
- Allow the foam to sit for 1–2 minutes
- Don’t let it dry on the surface
This dwell time is where the foam does its job—loosening and encapsulating dirt so it can be rinsed away.
Step 5: Rinse thoroughly
Rinse from top to bottom, removing as much loosened contamination as possible.
At this point, you’ve already removed a significant amount of dirt without touching the paint.

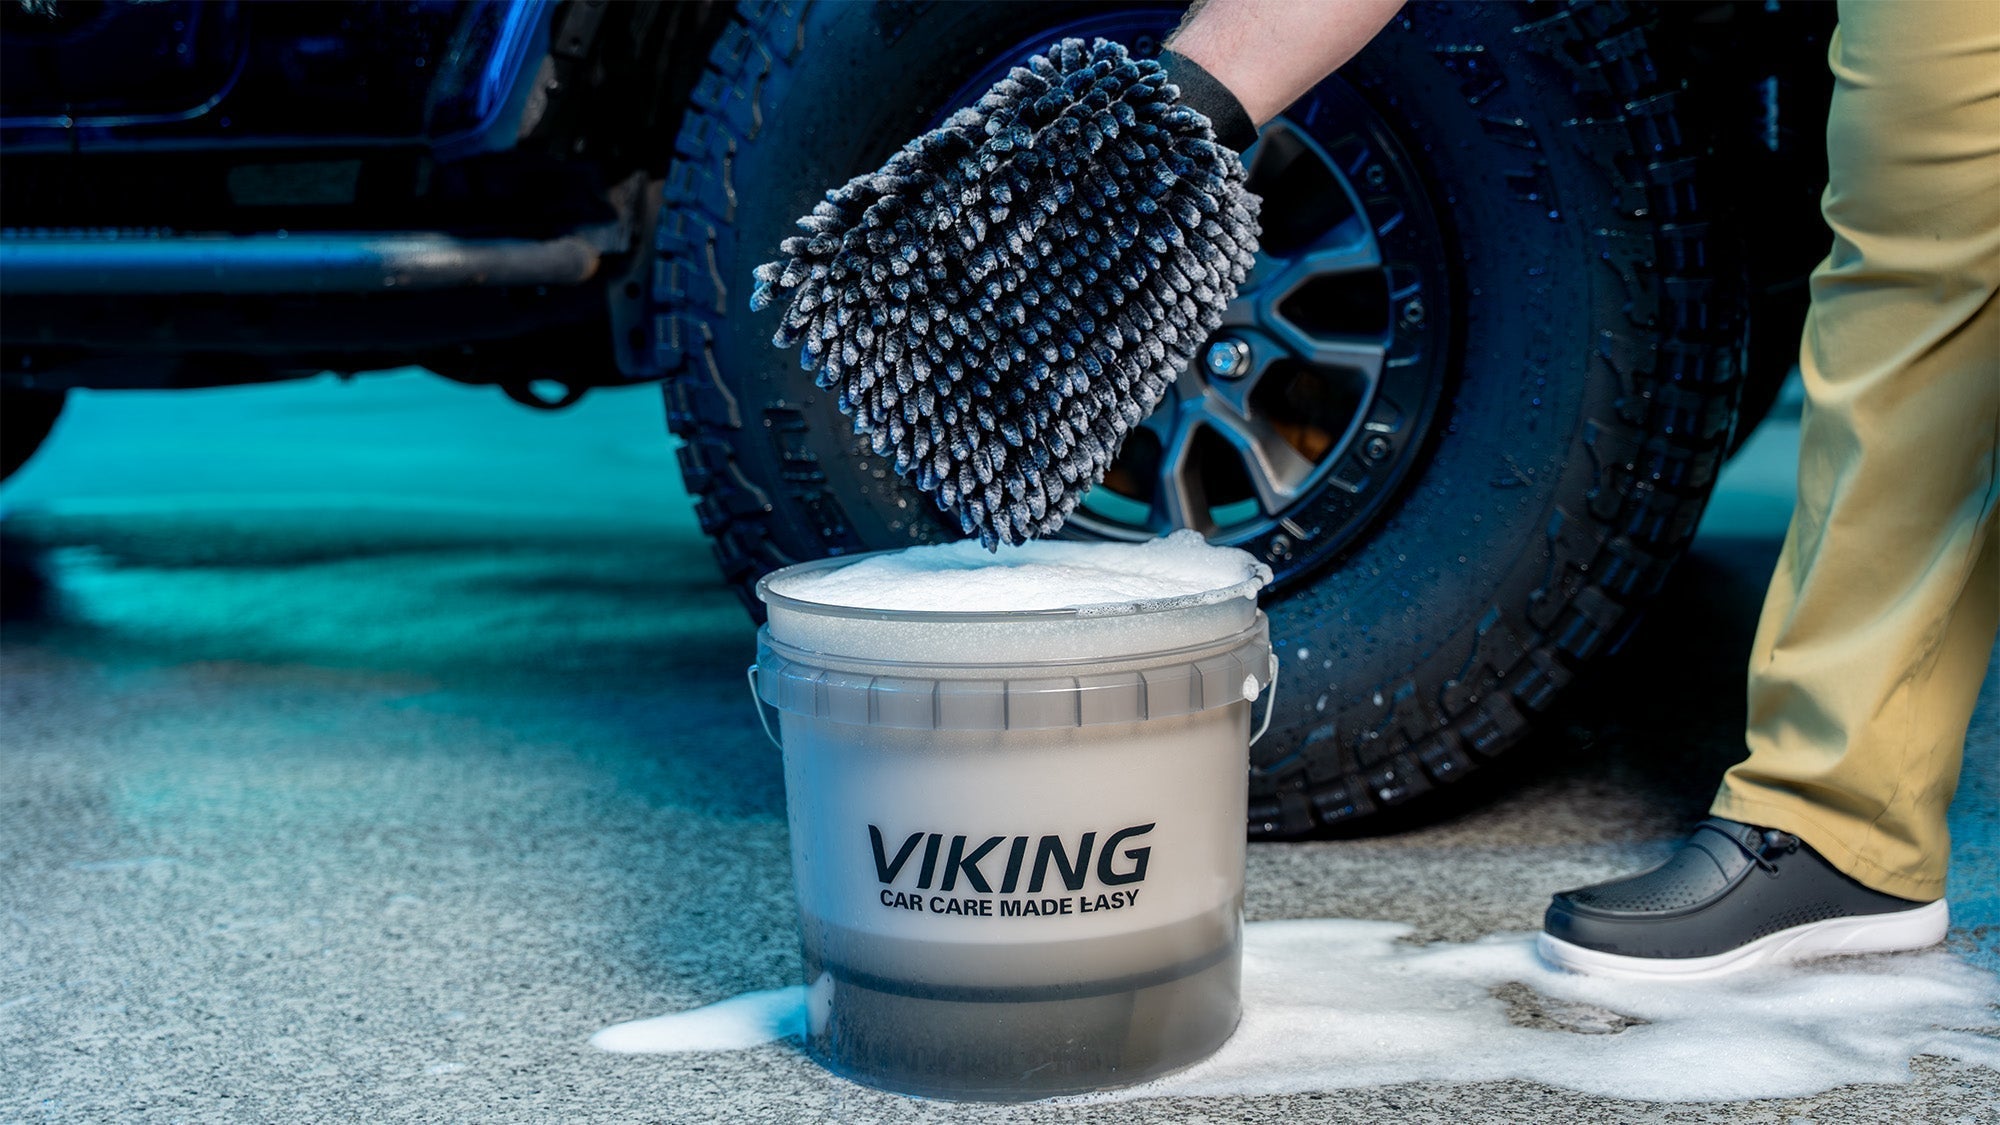
Step 6: Move into your contact wash
From here:
- You can go straight into your wash mitt process
- Or apply a second light layer of foam for added lubrication
That second layer isn’t required—it just adds another level of protection during contact washing.
 Does a Foam Cannon Replace Hand Washing?
No—and that’s an important distinction.
A foam cannon is not a touchless wash solution.
It’s a prep step that makes your hand wash:
- Safer
- Easier
- More effective
Most of the time, you’ll still want to follow up with a proper contact wash to fully clean the surface.
Dialing in Your Foam Output
Foam quality isn’t just about the soap—it’s also influenced by your pressure washer setup.
Key factors:
- PSI (pressure)
- GPM (water flow)
- Foam cannon orifice size
Higher PSI and GPM can produce thicker foam, but even lower-powered units can still work well with proper setup.
For example:
- Smaller orifice = more foam with lower-powered machines
- Larger orifice = better flow for higher-powered setups
The goal isn’t just thick foam—it’s consistent coverage that clings long enough to do its job.

The Simple Foam Cannon Process
At the end of the day, the process is straightforward:
- Apply foam
- Let it dwell
- Rinse thoroughly
- Move into your wash
That’s it.
Final Takeaway
A foam cannon isn’t just about making your wash look better—it’s about reducing risk and improving results.
If you’re serious about keeping your paint in good condition, adding a foam step is one of the simplest upgrades you can make.
It helps you start your wash on a cleaner surface—which is exactly where every safe wash begins.